A very delayed post here, but wanted to share some details on the basement bath we had installed this past fall!
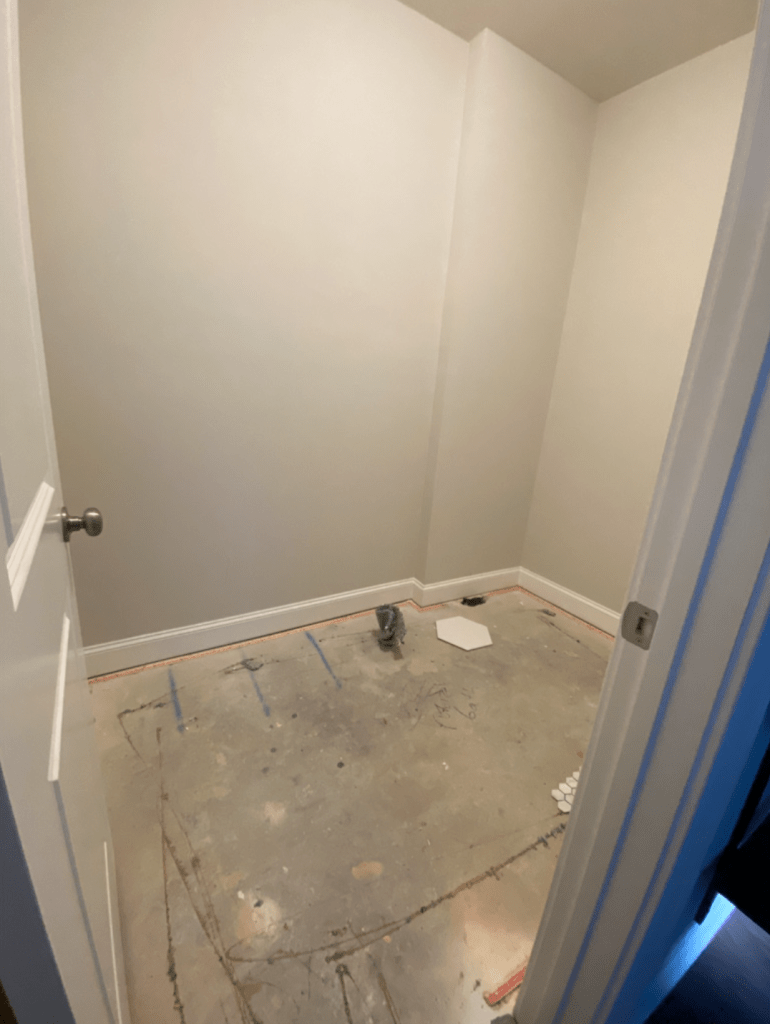
When we first moved into our house, we were told the builders had ‘stubbed’ the larger basement closet to be a bathroom, so our plan was to eventually have on installed to up the value of our home. After waiting well over 2 years, we finally had saved up enough to get the ball rolling on this project! We went through 2 contractors before we found someone that was in the price range we could afford, and not have to wait 6 months.. (everyone was doing home projects by the end of 2020, since we were all stuck at home and wanted better amenities, apparently!)
There was carpet in this closet up until we did the install, but had a panic moment the night before the workers were to arrive and ripped it up at 10pm to make sure there was, in fact, plumbing!! We did hit a small snag and the builders had to come correct some water lines in the back wall, but after that things went pretty quickly!
For our supplies we were able to get a vanity and counter at a local store that sells wholesale/discounted home items at a decent price. We didn’t want to get the fanciest things around (or go over budget at all here) so this was a great option for us. We were lucky that they had ONE white marble counter with a sink already attached that was the perfect size when we did this project, because I knew since this was a small space, dark that white would be our best option down here to brighten things up!
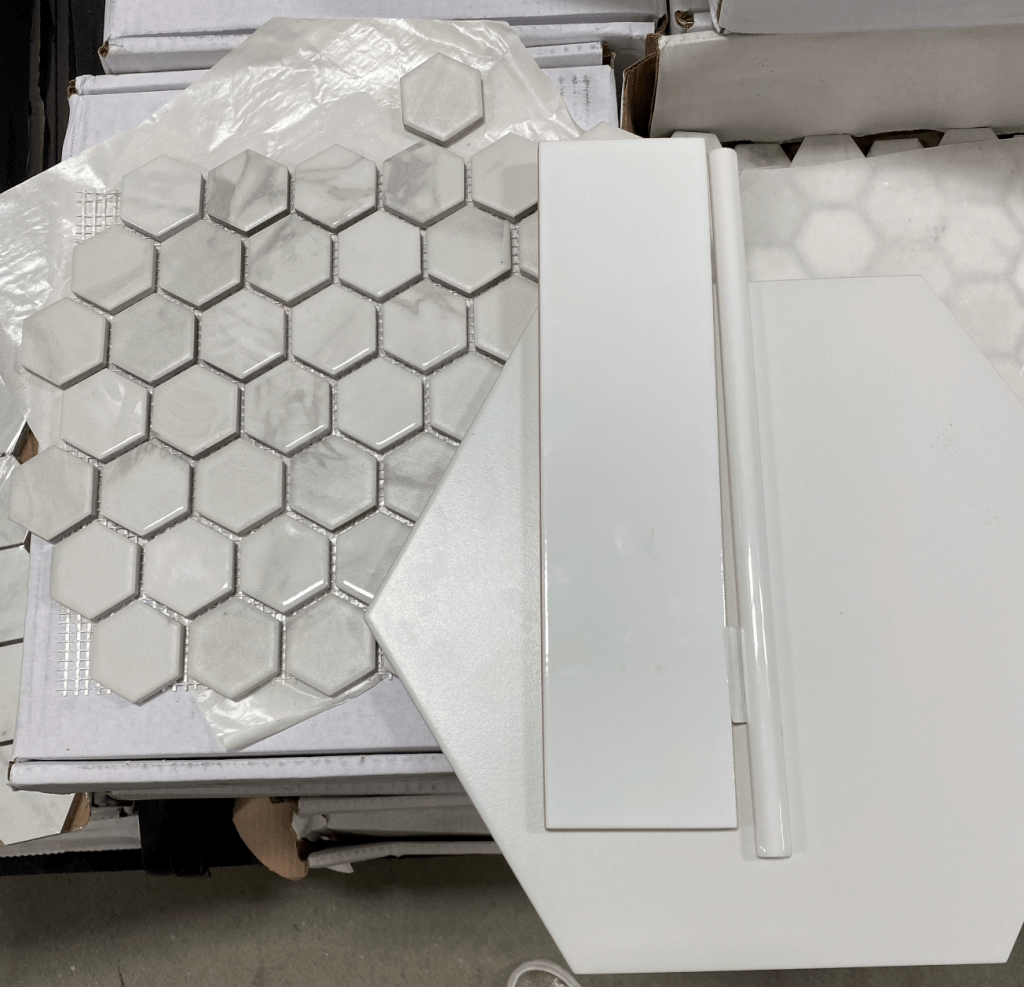
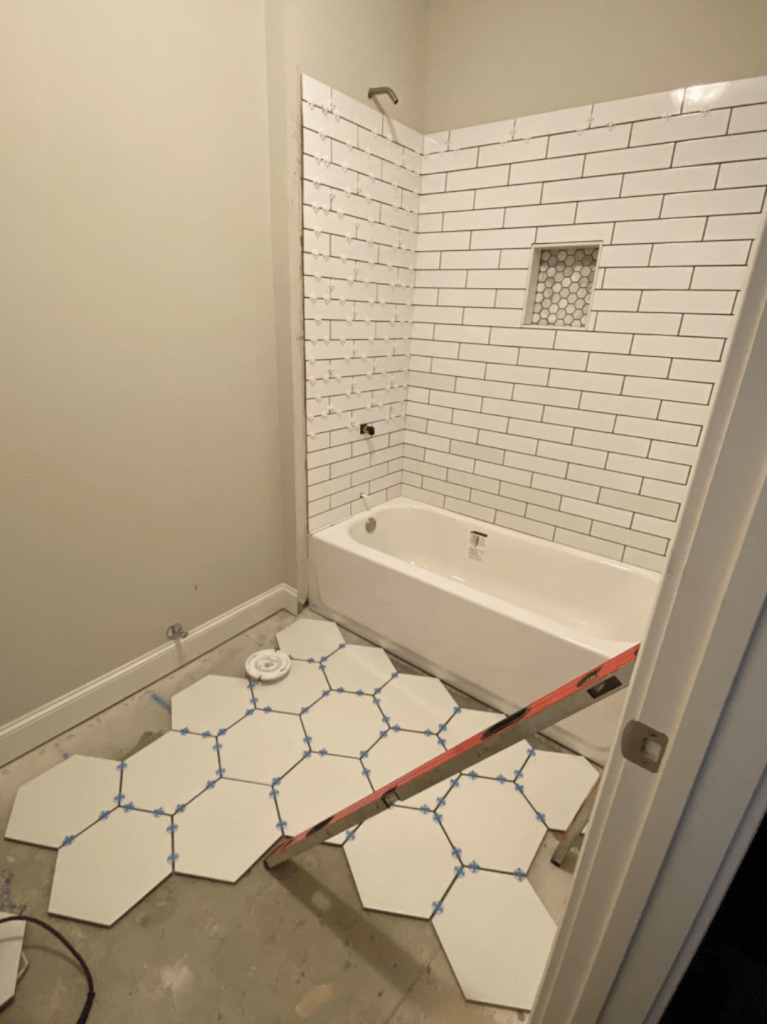
After we secured the counter, then we felt good to pick complementary tile. We went to Floor & Decor and found a lot of great options, but I knew I wanted something a little non-traditional so we went with hex shaped tiles for the floor. (I wanted black.. but Chris disagreed so we settled on white for resale value sake). We did longer subway tiles for the shower, and as an added detail we found a marble hex shaped accent piece for an insert in the shower to tie the floor and the countertop all together!
We had to secure a tub and a toilet and got those both from Home Depot – Chris was in charge of those so I’m not 100% sure what the specs are on these items!
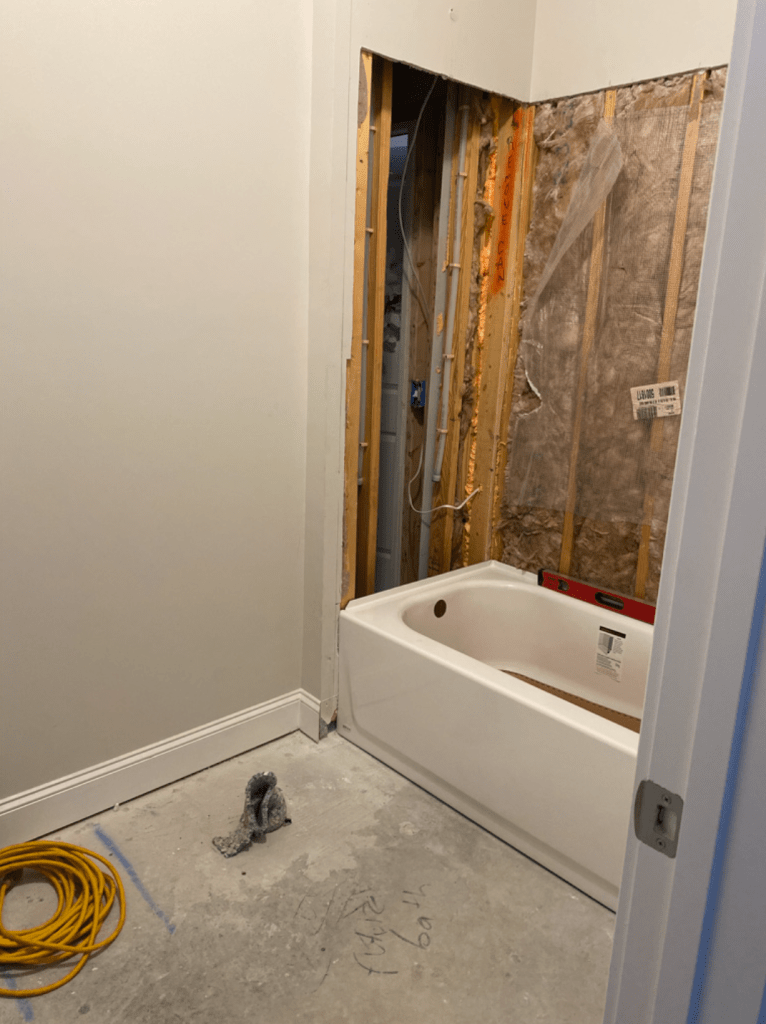
Once all water lines were correct and the tub was installed, then the tile work could begin:
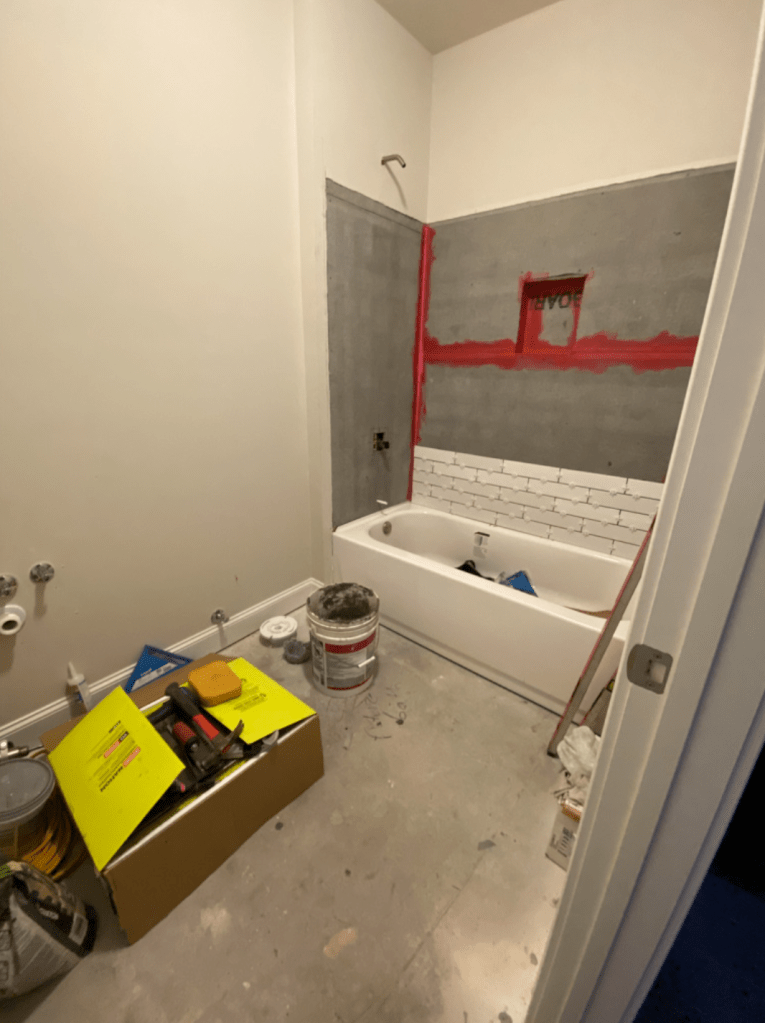
If you look closely at the previous photo, you can see that the bottom two rows of tile, and a few others scattered above seem to be slightly more grey than the other tiles.. even though we made sure to get tiles that were all from the same lot, apparently there were a few that had some discoloration. I, of course, started to panic when I noticed it, but by the time we realized it was pretty much already too late. They would have to rip out all the rile already installed and reinstall new concrete board, so would have added cost and delayed the workers. Thankfully, it’s really not as bad in person as it is in photos. So I conceded and we kept going. You can see here with the full shower finished the difference, and that the rest of the shower is bright white:
Since this was a small space though, this was a really quick project once they got started. All in I think it took about 6 days to complete!
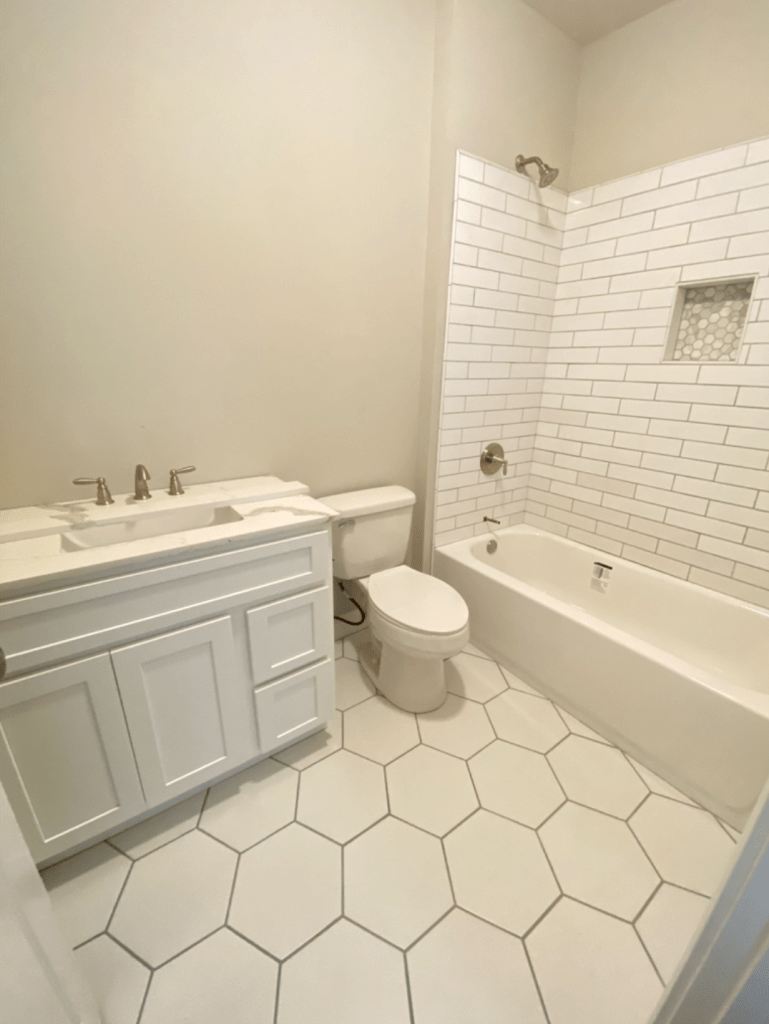
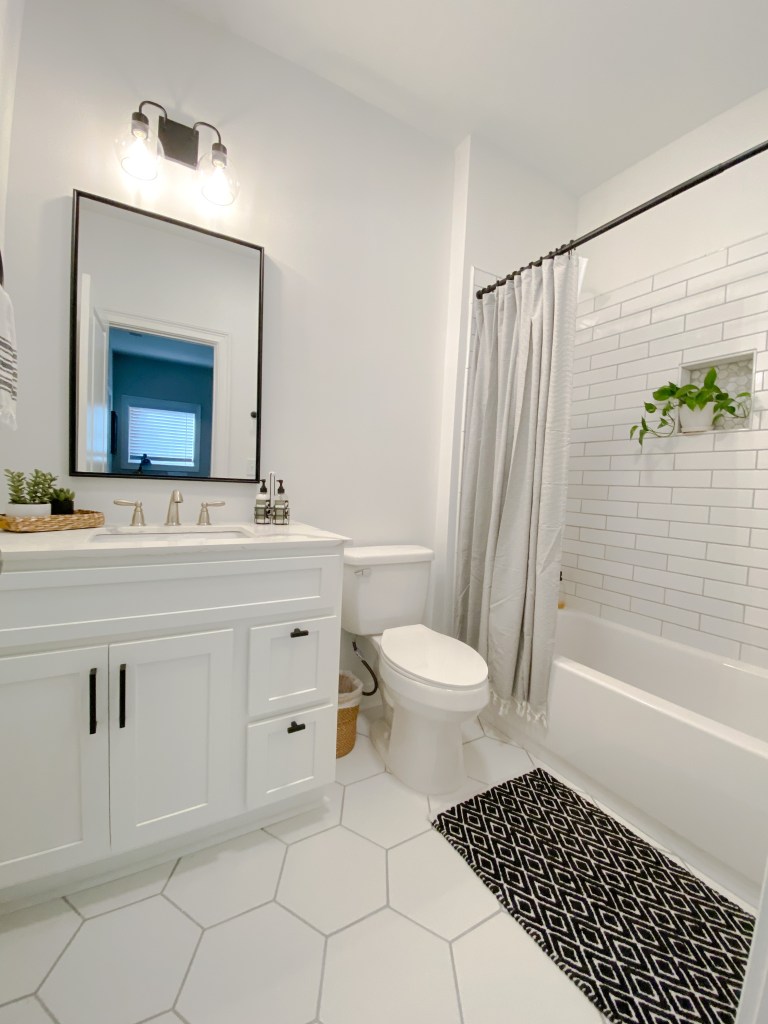
We had an electrician come out to install the light box for over the vanity, and update the light switch for us, but then that was it for our hired help! At this point Chris and I took over on the final details to save money. We painted the walls white, installed the light fixtures, towel bars, mirrors, etc. And Voila!

The white walls really cleaned up the space and made it feel so much bigger (I again will never understand why our builders painted all the ceilings the dullest yellow grey color..) and the contrast of the black vanity light, mirror, and fixtures made the space feel elevated and special (in my opinion!) And of course the little touches like this shower curtain, cute soap dispenser, straw tray, bath mat and fresh towels really finish the space off!
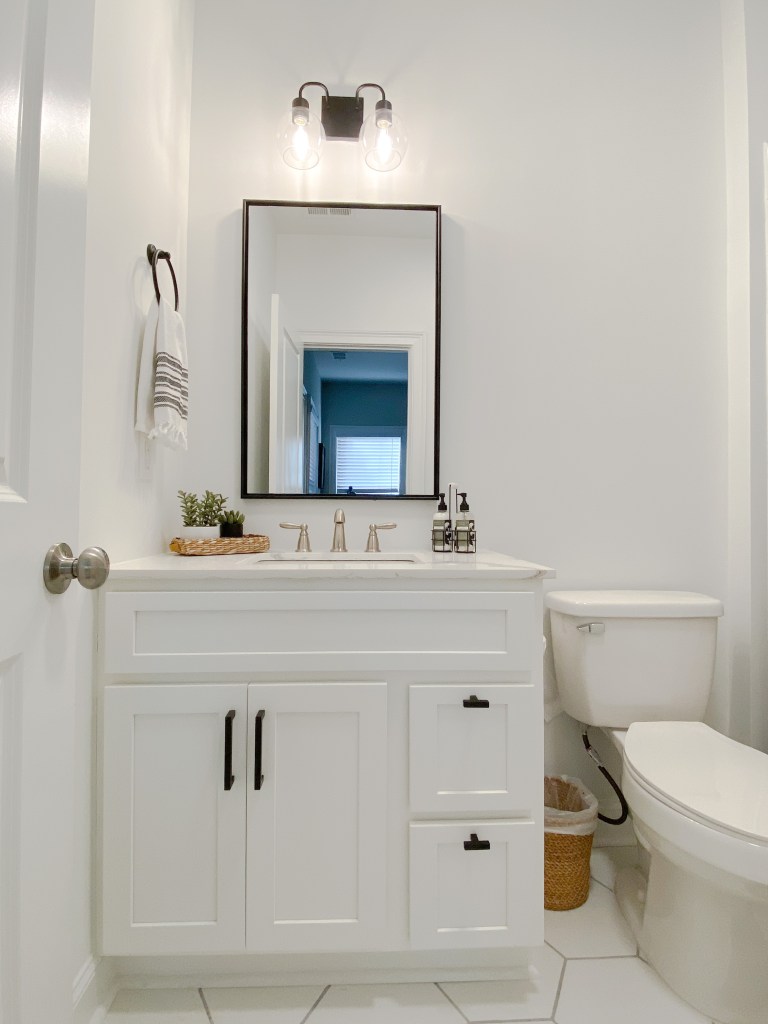
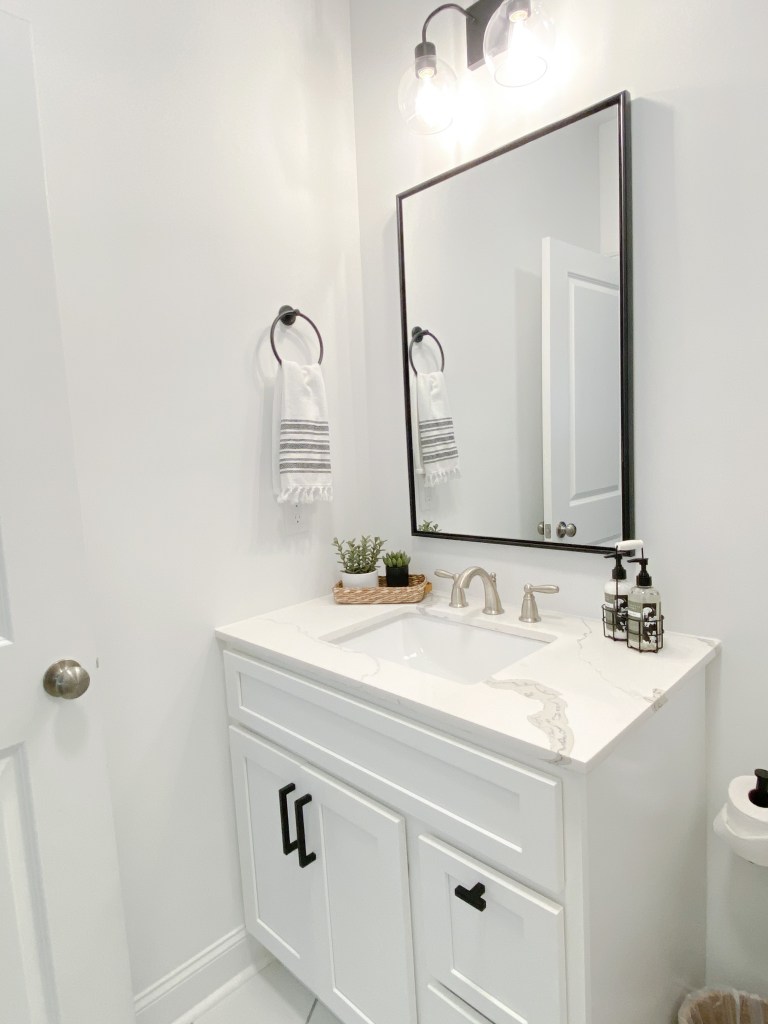
During this project we also installed a new vanity in the upstairs powder room, and were able to utilize the faucet from that bathroom down here. Which was a huge win because when building, the builders did upgrade our faucets, so all our fixtures are really nice Moen faucets! I didn’t want to trash this guy (or buy a new one when we had one that would have costed us another $150!) so that was a great repurpose. I also love how it coordinates with the veining on the counter!
We are so happy with how this little bathroom turned out, and are so grateful to have a toilet on the bottom level of the house, ha! Even with a few hiccups along the way, we are really excited about it! Let me know what you think, too!