
Hi friends! Want to see the process of our ‘simple’ weekend guest bath update? Of course you do! Why else would you be here! (.. I assume?)
Anyway! Here is a quick before –
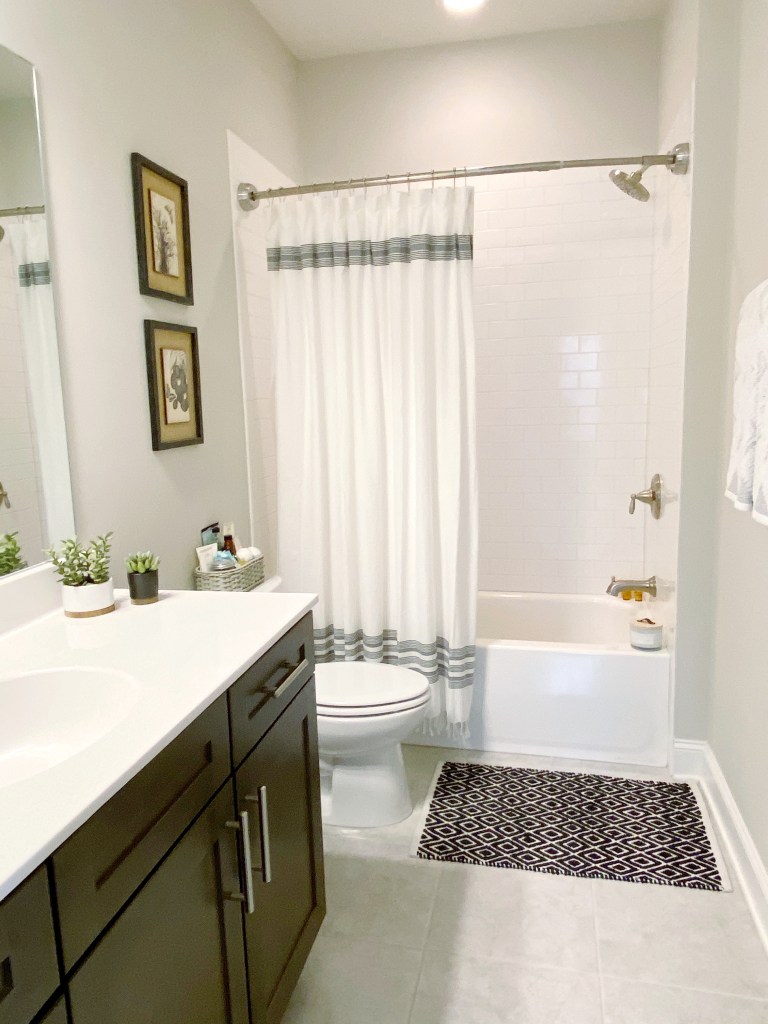
If you followed along in my instagram stories as this process went along, you’ll remember I kept saying “there’s really nothing wrong with this…” because, on the surface, there really wasn’t anything wrong with our guest bath… it was just a little too ‘farmhouse’ for what I’m want our home to be, and the builder’s used all the cookie-cutter, basic stuff when building our home – weird purple/brown stained cabinets, the worst light fixture possible, and cabinet pulls that didn’t match anything else in the house (why are they chrome sir?) ..plus, I can’t sit still for long and am always moving on to the next project!
Main tasks were – paint the walls to match the ceiling, paint the cabinets, new cabinet hardware and a new light fixture – not too much, right??
Well it really wasn’t ‘a lot’ to do, it was just a very slow and methodical process to make sure it turned out as professional as two amateurs to make it!
Here are the supplies we used to tackle this project:
– 1 quart Sherwin Williams Showcase paint in satin finish for the cabinets
– 1 quart bonding primer for cabinets
– Foam rollers made for the cabinet doors (highly recommend!)
– 1 gallon of the same Showcase paint in eggshell for the walls
– cabinet hardware
– new light fixture
Okay let’s get started!
First things first, we removed the cabinet doors, not a good idea to try and paint cabinets thoroughly and neatly while they are still mounted!
Tip: label the drawers and doors as you move them around (left/right/middle), so you know what went where to begin with, makes it easier to put things back and them be level and accurate!
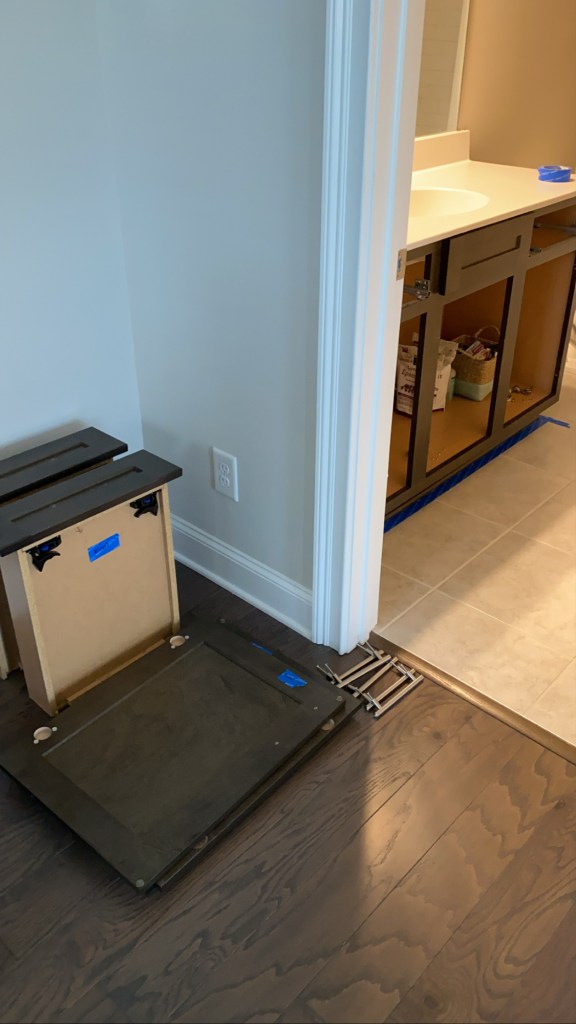
(fun fact, that little center panel that isn’t a drawer, also pops off.. mad props to husband for bringing that to my attention..)
Step two!
Alright so I read literally 634 tutorials on how to paint cabinets (..alright not literally) but I read A LOT.. and it was about half and half on if you should or shouldn’t sand before priming. But there were a few that bullied me a little and made me feel like it was really necessary to sand ‘pre-finished’ cabinets so that the primer has something to adhere to. Then the guy at Lowe’s said that with the bonding primer we were using we wouldn’t need to… I did it anyway (better safe than sorry?).
Here is what the cabinets looked like before sanding, up close and personal
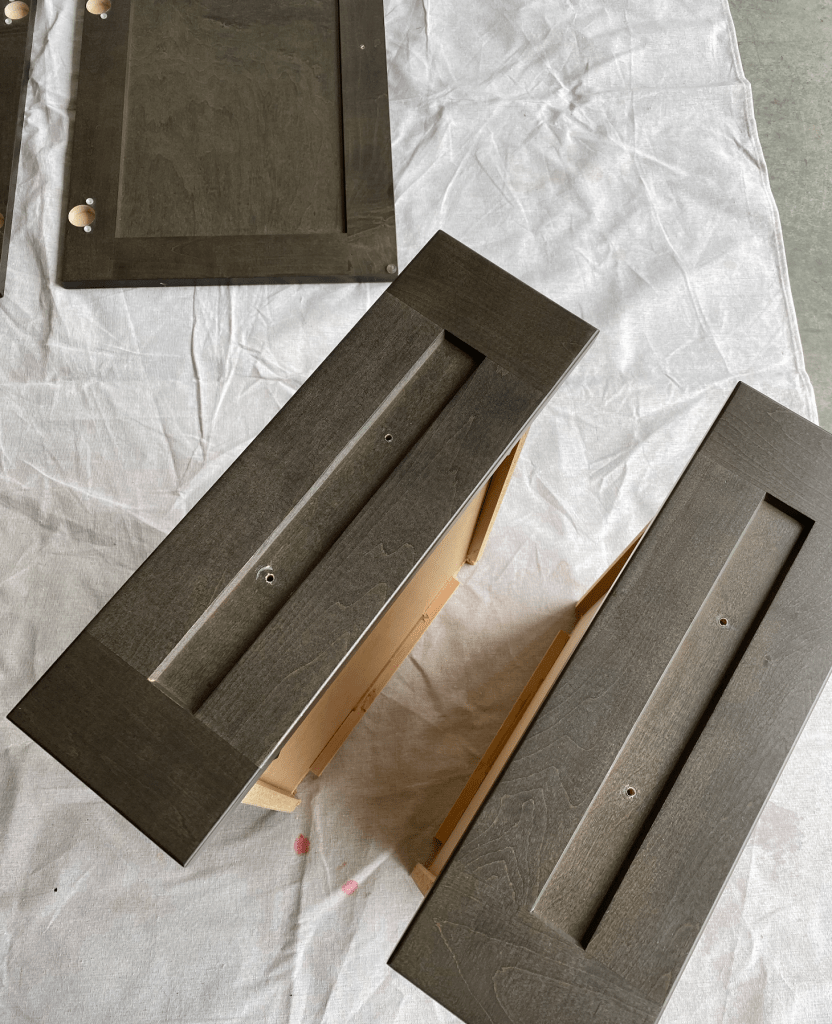
We used our Ryobi orbital sander with 220 grit on the first go of taking off whatever top coat situation was on the stained cabinets. Here is the cabinet afterwards! Yikes!
As I started sanding the cabinet doors, Hubs started tackling the walls. He is the master wall painter in the family, so I let him handle that! (After I do the trimming of course.)
For the walls we used the color Aesthetic White from SW to match all the ceilings in our house, and covered SW Agreeable Grey.. which in some lights you can’t even tell the difference between the two colors. I probably wouldn’t have chosen Aesthetic white as my first choice, because it is so warm, but we don’t want to repaint all the ceilings in the house.. so easier to just match the ceilings and have the walls lean more white than grey!
Step 3?
Onto priming! I had the awesome Lowe’s paint guy tint the primer for me, which is why it looks grey here! I read that if you use black paint, and white primer, you’re more likely to triple/quadruple coat because the white is more likely to show streaks through the dark paint. No thanks pal.
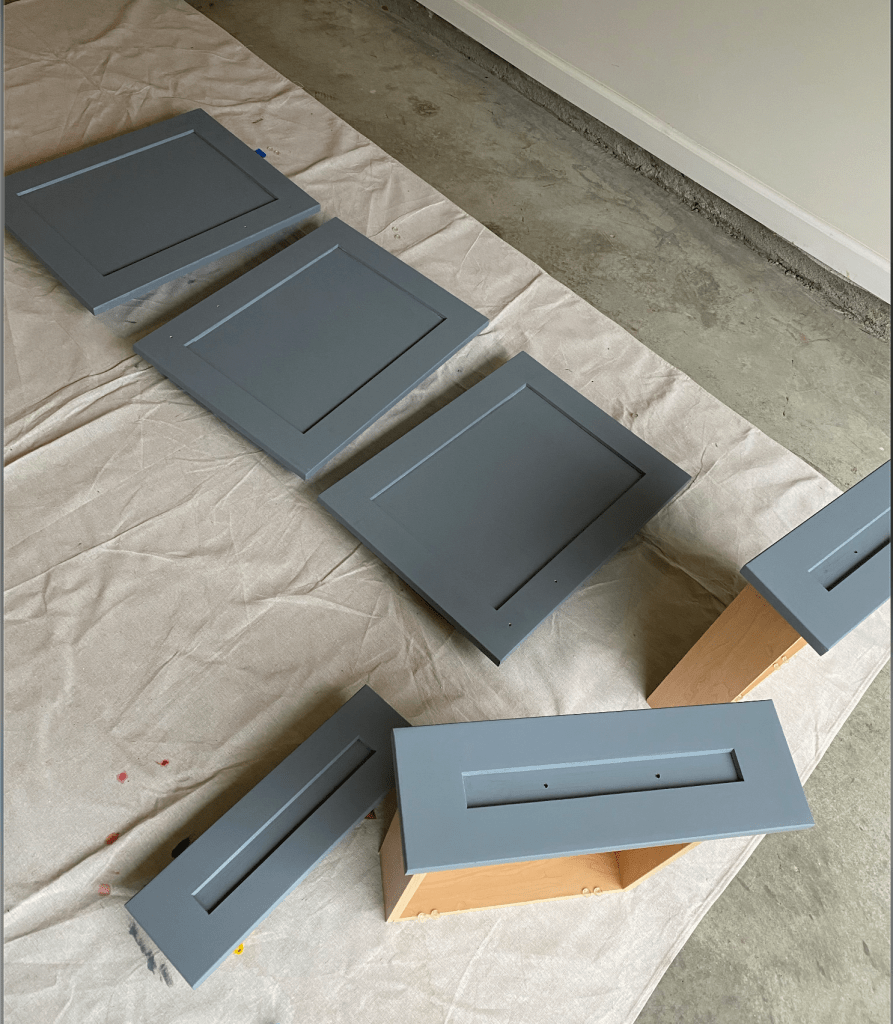
I started with the back side of the doors, first using an edger brush to start on the little inner corner/lip piece, followed by a small 4in roller and got it as smooth and even as I could. Then primed the drawers and then moved onto the cabinet while the back of the doors dried for a bit!

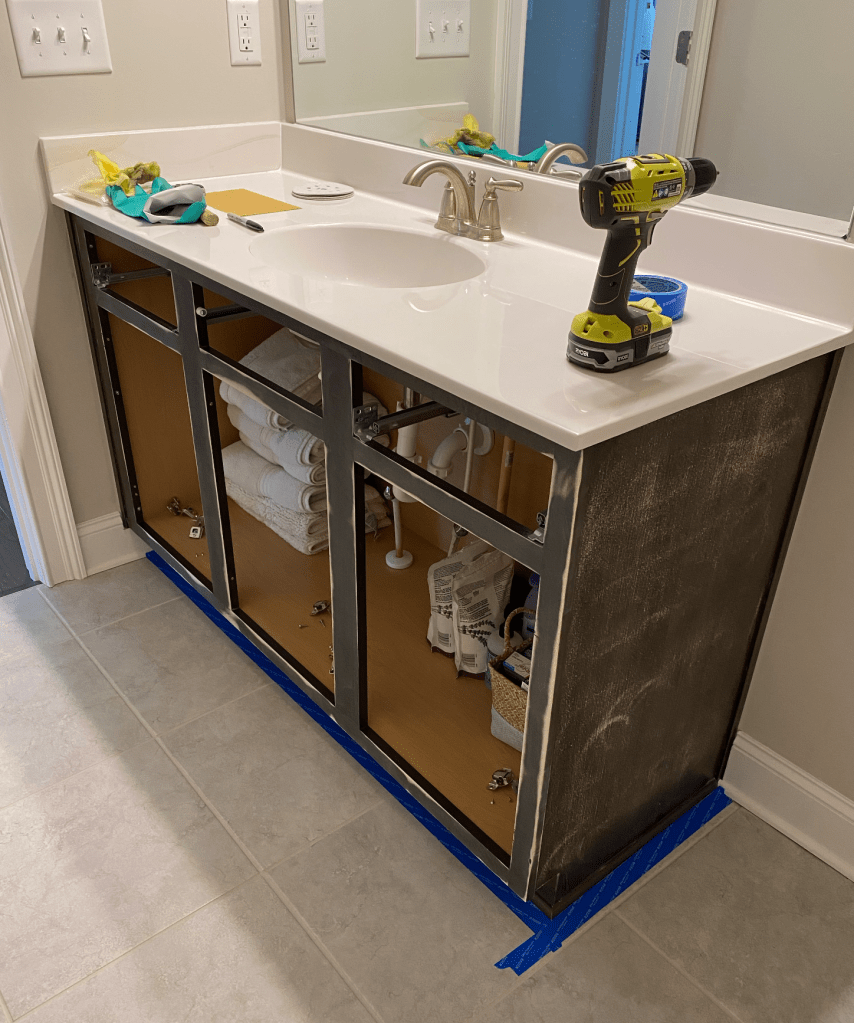
Worth noting that I did put painters tape around the cabinet after the walls dried, to help with cleaner edges, since it was going to be black on white!

After the cabinet was primed, I went back and flipped the doors once they were dry to the touch and primed the fronts/sides. (Also recommend these bad boys for when painting literally anything to elevate and not mess up what you’re painting, they’re the best)
Next step : WAIT. 24 hours. Literally. It will help the paint cure and set long enough so that it won’t chip, and can adhere to the cabinet. You’ll want to do this for every coat of paint you do, which will in turn make this a 3 day process, but I promise for longevities sake its worth it.
After 24 hours, I did a VERY light hand sanding, 320 grit with little to no pressure, just to get out any imperfections along the inner lip pieces or corners. Clean all the dust away with a tack cloth! Then I followed the same pattern of back of doors/drawers, then cabinet, then front of doors. I highly recommend the little foam roller linked above to do the paint coats, you pre-wet the roller, so it can pick up the paint easier and go on more smoothly. It really worked! Also I recommend using more paint than you think, it is a sponge, and you want perfectly even coats, so to help the sponge not absorb all the paint you put on it, I felt like excess was better than less.

(amateur hour over here, I apparently didn’t take photos of the black painting process, and had to pull photo’s from my instagram story.. yikes).
Anyway. After following those same steps, and waiting yet another 24 hours, I did another very light sanding with the 320 grit, tact cloth, then same process again for the final coat. I did not sand after the final coat, but I did see a recommendation that you could use 660 grit sandpaper as a ‘buffer’ on final coats, but we couldn’t find anything above a 320 grit at Lowe’s so I just opted against sanding on the final coat!
(reveal photo posted below, be patient)
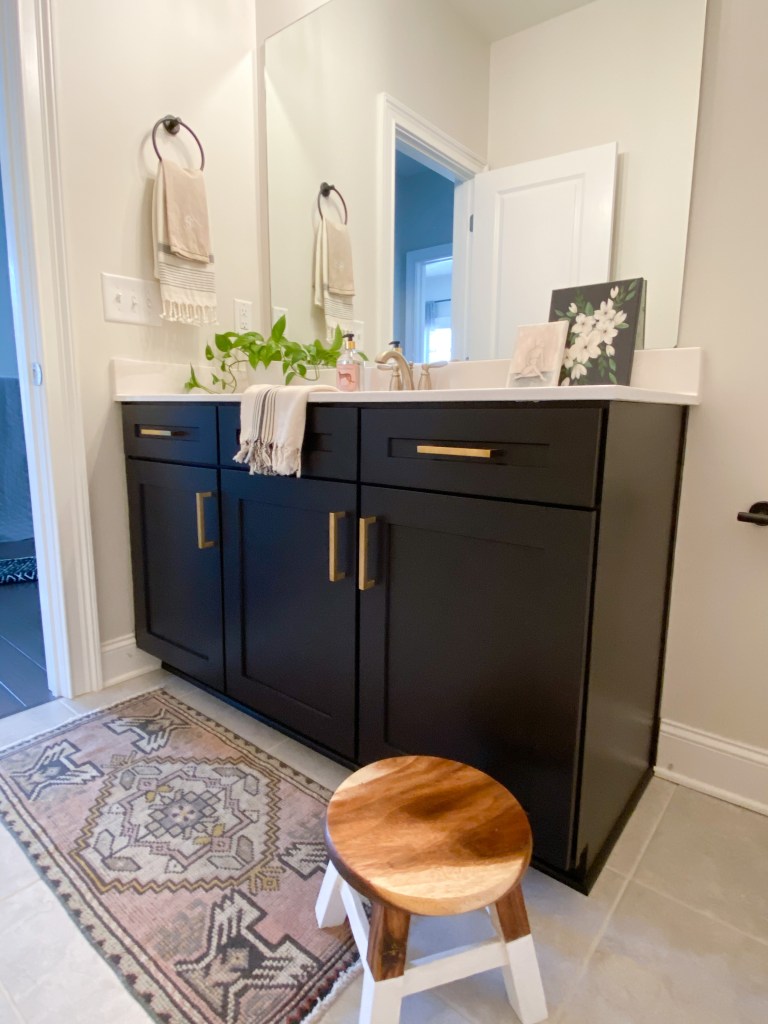
After we got the cabinets and the walls finished, we replaced the sad brushed nickel light fixture with something more modern; I love how this one had the mix of black and gold, giving it a nod almost vintage, which I love!

After reinstalling the cabinet doors and drawers, and adding the new hardware, we were finished! Honestly it really wasn’t that huge of a project it felt like, but really updated the space enough to give the more intentional, modern vibe that I’m going for!!

I love that the walls are a cleaner, brighter color than before, and the contrast of the black cabinets on the white walls is so nice! And it ties in perfectly to our powder bath update we did a few weeks ago!

So what do you think?! Are you less afraid of painting cabinets now?? I totally am! (But also thankful there aren’t any more cabinets that need painting in our house!)
I hope you enjoyed this little tutorial, and learned a few new things along the way!
Stay tuned for whatever crazy thing I decide to do to our house next!!
-Allison
