
We’ve been in our townhouse about two years now, and during that time I’ve always felt our laundry room was just barely functional .. (wash clothes? check. Dry clothes? check. shelf to put stuff on? check.) …okay so it was fully functional, but just not very pleasing to look at!
So in comes in my friend Anna, who was asking me for help on design decisions for their laundry room update for their home in Birmingham! And after we got everything planned for her, I was of course sparked to finally refresh ours!
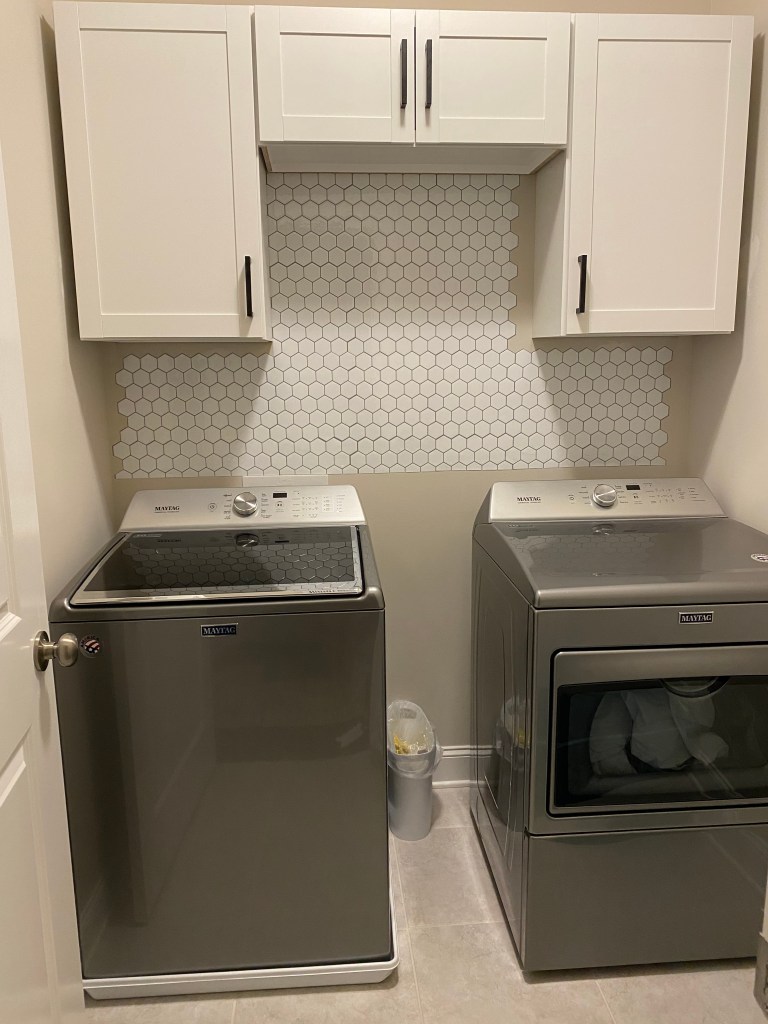
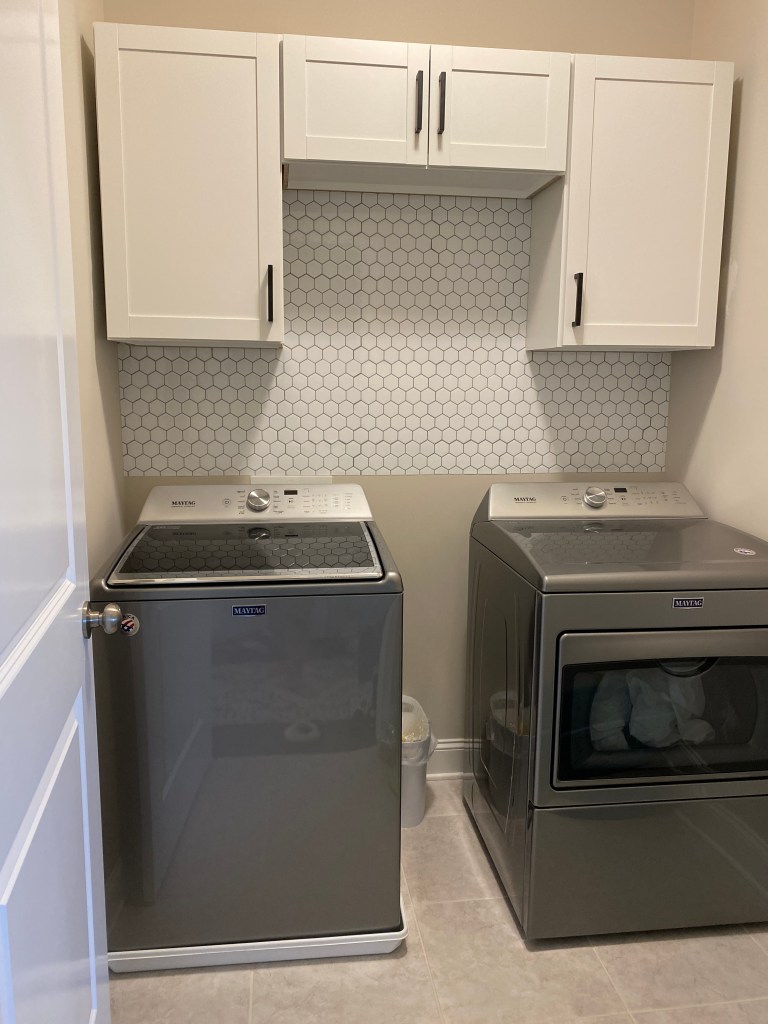
So here is was we were starting with…
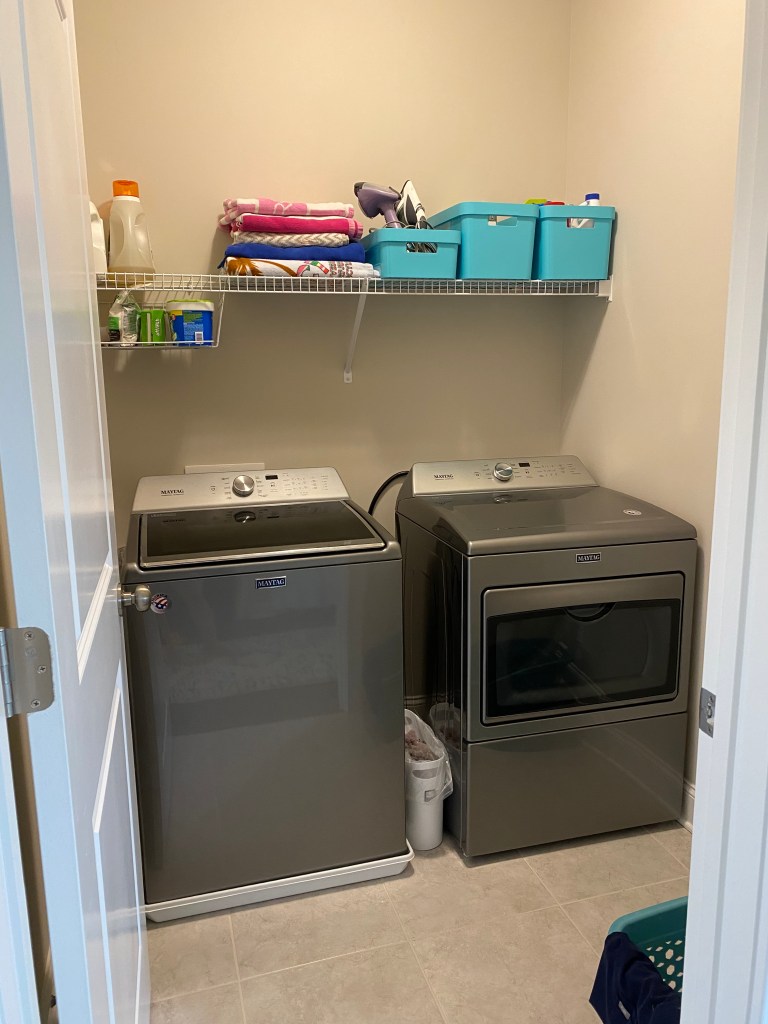
Thrilling stuff, right?
Anna had mentioned to me about these ‘faux sticky tiles’ that they were considering, since it was serving more of a look purpose, than a protection purpose that real tiles would need to be installed for. After pulling my inspiration, doing some research and looking at lots of tutorials, I decided that the hubs and I could take this project on ourselves! I mean how hard is it to install cabinets, right?
We opted to get the in-stock cabinets from Lowe’s, because it’s a laundry room we didn’t really feel like it needed to be super fancy. But luckily they have some in stock that match (pretty close..) to our kitchen and master bath cabinets!
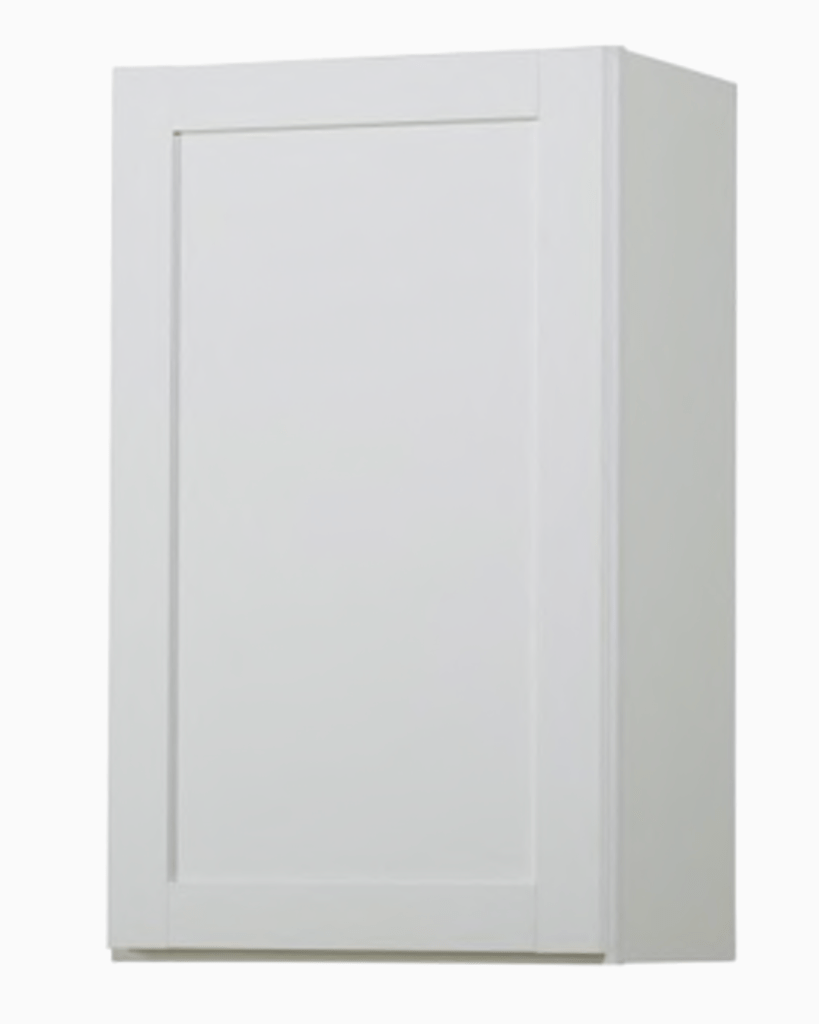
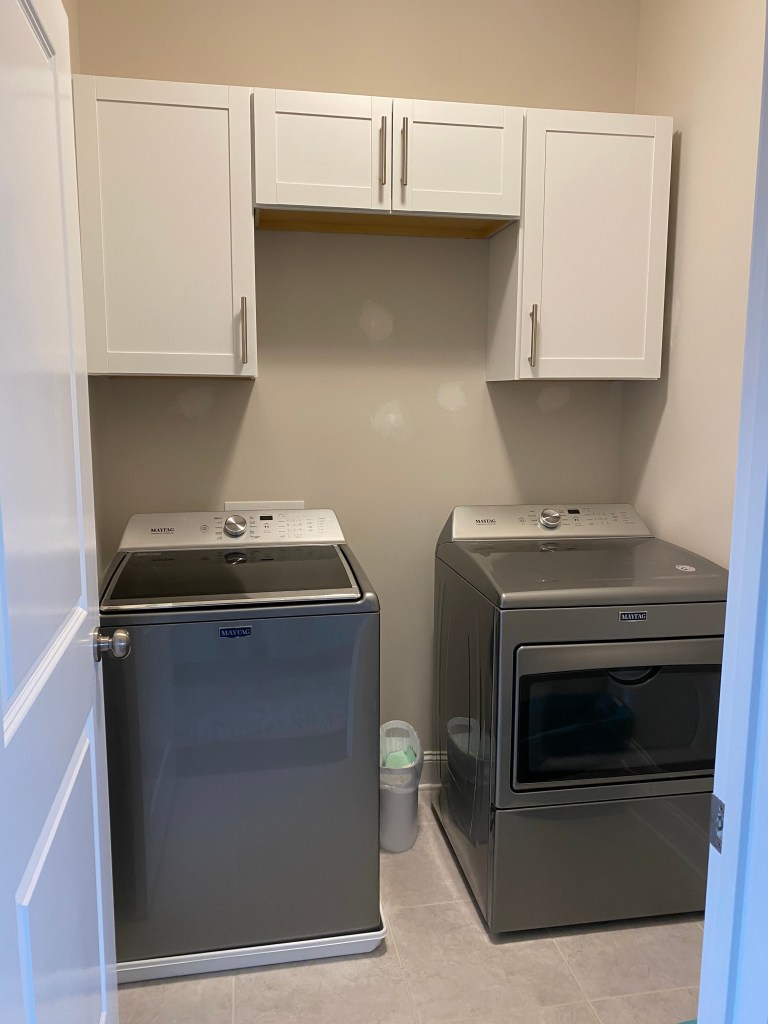
After measuring out our space, we decided we would do two 18Wx30H cabinets on either side, with a 30Wx12H single cabinet in the middle, so that we could add a bar underneath for room to hang things as needed. Here is after we pulled the shelf off, patched the wholes, and spent about 4 hours getting the cabinets hung!
Hanging the cabinets was pretty straight forward, Lowe’s has a good video tutorial that we used as our guide. The reason it took so long was the measuring, and dealing with our walls not being perfectly flat, and the studs being in really random spots in the wall! (why are homes built SO fast nowadays?!)
We had some leftover drawer pulls from our kitchen that we put here for the time being (easier to drill the holes for them before we got the doors attached!)
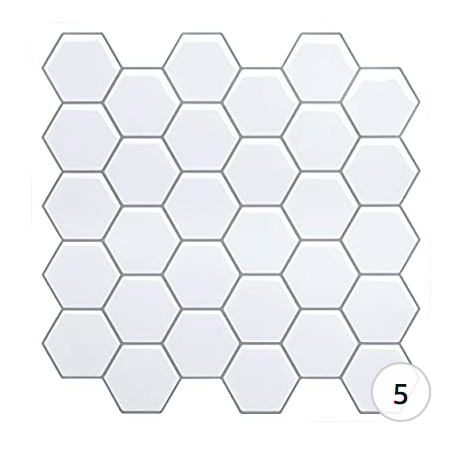
As for the sticky tiles, I found a cheaper brand on amazon (as opposed to the ‘Tik Tak’ tile brand). They ended up working fine, I wish they were a little bit more ‘dimensional’ but again, its for the laundry room so saving probably $100 to go with the amazon find was a better choice here!
These were the shape I ended up going with, it came with four ‘sheets’ in a pack, and i ordered 5 packs.
I used all but 2 of the sheets for our small space. I would suggest laying them all out next to each other and make sure all the colors align! I had two sheets that were slightly more grey than the rest.. and I didn’t catch it until they were on the wall and I had stepped back! Also, these things are VERY sticky.. and they definitely are permanent like wall paper.. there were a couple spots I had to peel them back to adjust and it pulled paint and some sheet rock away, so you have to be VERY careful and get it correct the first time!
Making progress!
I got the new pulls from amazon, I wanted them to match the pulls I got when I updated our kitchen cabinets, and I found these at a lower price than the originals! They are very similar to those, slightly thicker and hollow, as opposed to the kitchen ones that are solid metal, heavy and slightly thinner! (..I’ve said it once, I’ll say it again – it’s the laundry room so the cheaper option here is perfect!)
Tile is finished!
We stopped right above the machines, knowing that we planned to add a little ledge to help give a ‘break’ instead of having to add tile all along that back wall.
For the ledge shelf, we got a 3/4in x 8in wide piece of wood from Lowe’s and cut it to fit the space so it would hug right up to the walls on either side. I stained it, and the wood rod we also got from Lowe’s, in my favorite Golden Oak stain
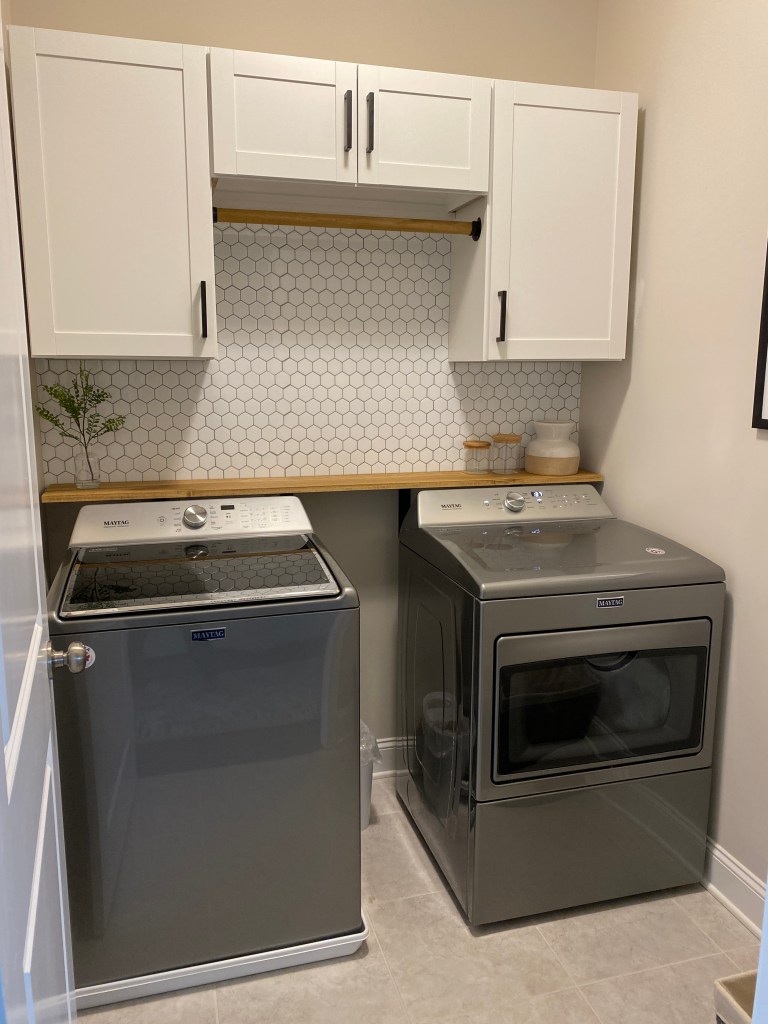
Coming along nicely!
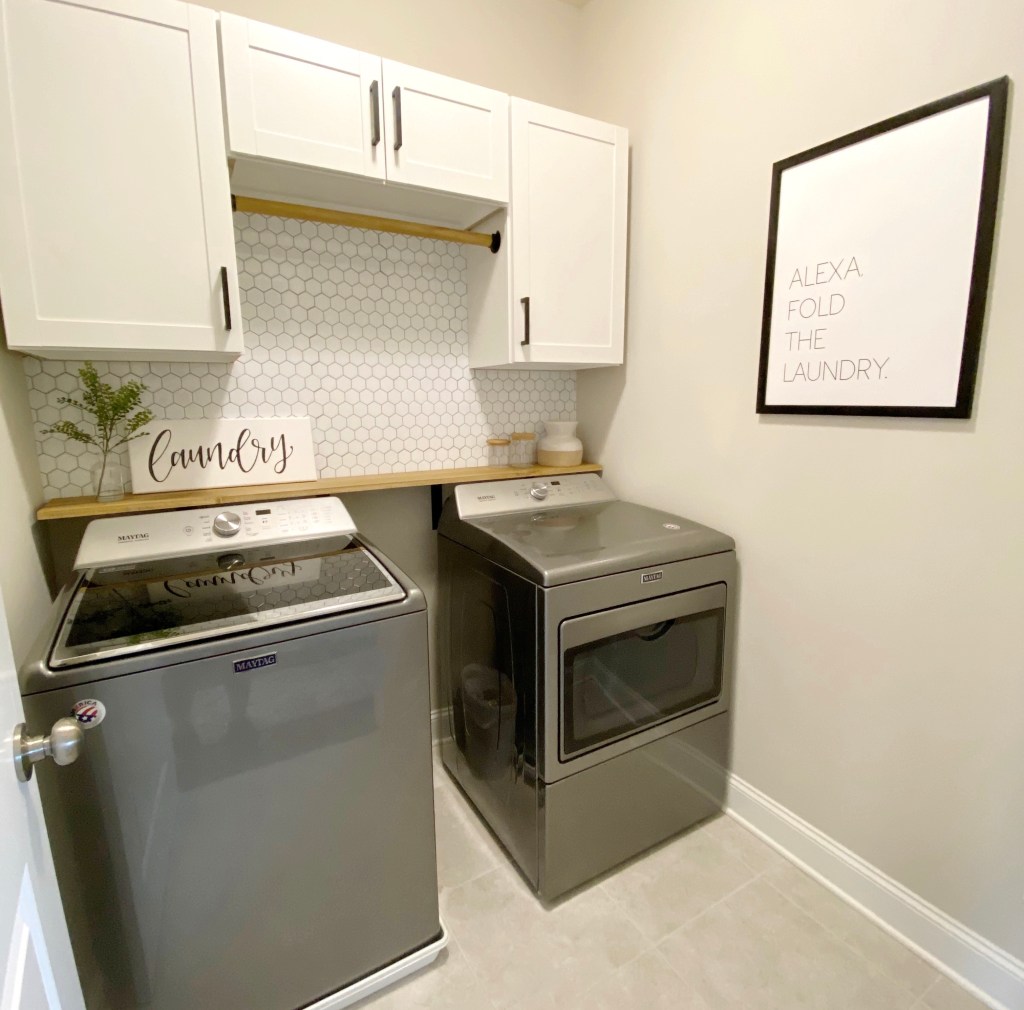
I added in a few pieces of decor, and then started working the ‘artwork’ I knew I wanted to add! One of my favorite bloggers, The Blooming Nest, has a large piece in her laundry that says “Alexa, fold the laundry.” and I just knew I needed one too!
I ended up just creating the layout I wanted in Adobe Illustrator, had Fedex Office print it for me and got a simple black frame from Target! Super simple, and only cost me $30 to do! I also painted a little ‘laundry’ sign for the ledge as well. Just need to find some baskets for above the cabinets (so much dead space up there), see if I can figure out some type of small shelves to go in between the machines, and we will be good to go!
I’m so proud of this little project! We are both very handy and crafty, but haven’t really tackled anything to this ‘scale’ and I knew it would be the perfect first project for us to try!
*adds hanging cabinets to resume*
Now that I know we are more than capable.. I’m ready to tackle MORE of the home projects I’ve been thinking about since we moved in! ..stay tuned friends!
