When we lived in our last home, I had it decorated in more of a ‘farmhouse’ style decor, with vintage furniture that my mom and I refinished ourselves. Our master bedroom furniture wasn’t ready to be replaced yet, so we tackled that to have a Restoration Hardware look! It looked great (and it was quite the undertaking), but we needed a headboard that would tie it all together. We had a fully upholstered headboard in our guest bedroom, so I knew I wanted something slightly different, and more masculine in the master.
Here was my initial inspiration from Restoration Hardware:
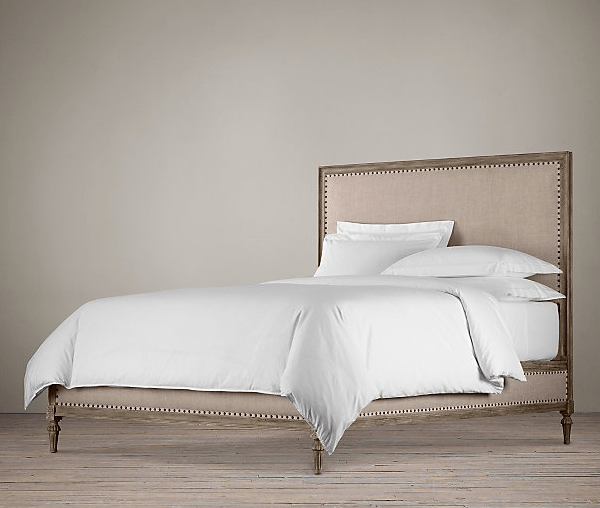
This bad boy costs upwards of $2100, and as newlyweds who just bought our first home, that was not an option! So I did some research, found this amazing tutorial and decided to see if I could try a version myself!
First, I had to get help from my dad to get all the pieces cut, and to help him understand exactly what I needed done, I created this ‘diagram’ with dimensions and details!
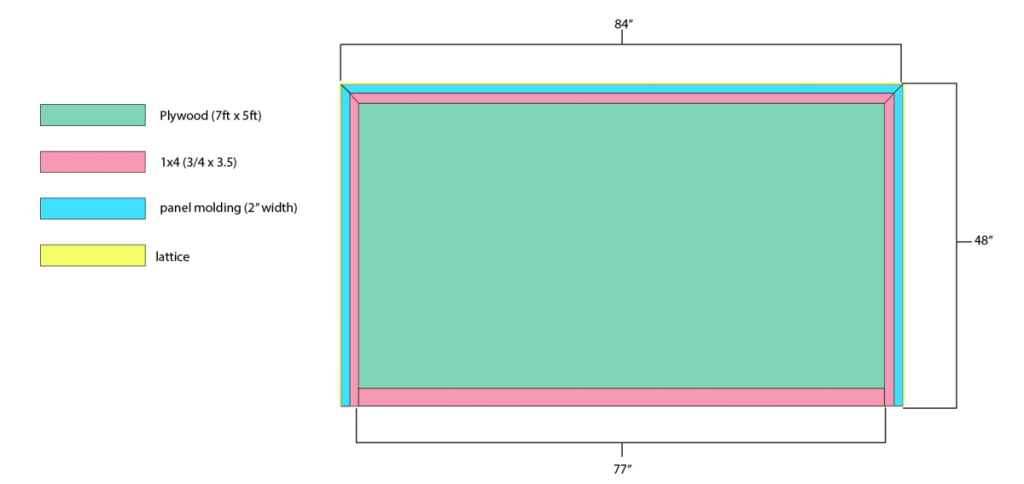
Things did change a little from this as my process went on, because being creative is more fun than sticking to plans, right? (i.e. I didn’t use the lattice to cap the edges)
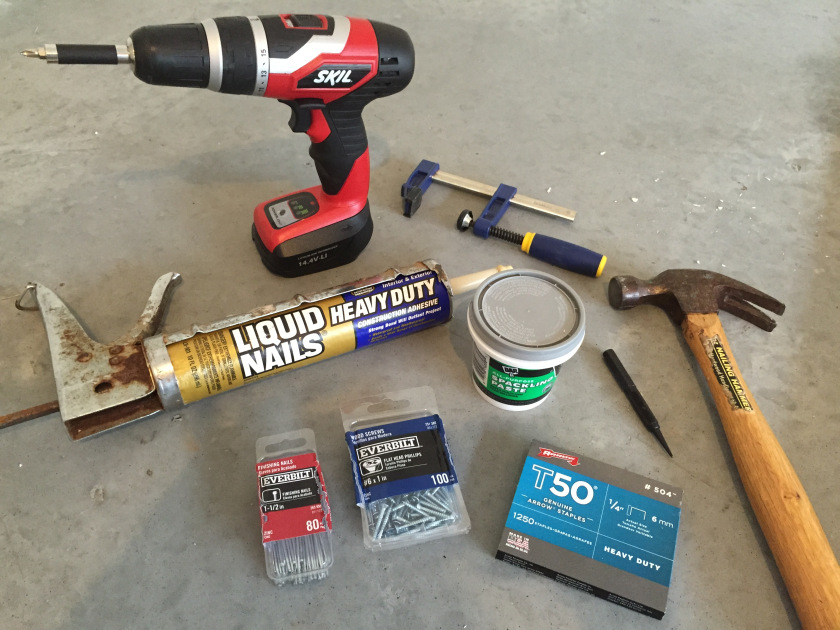
Heres what you’ll need to start building your board:
–Plywood sheet: Standard sizes are 8×4 – need it cut to 7x4ft
–1x4s: 1 piece cut to 7ft, mitered / 1 piece cut to 77″ flat / 2 pieces cut to 3ft 4in (mitered at the top, flat at the bottom)
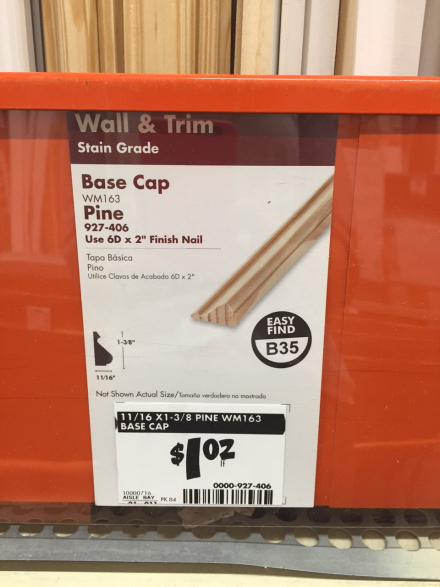
–Pine Base Cap (image from home depot attached) 1 piece cut to 7ft (mitered, longest point at 7 feet) / 2 pieces cut to 4ft (mitered at top, longest point at 4 feet)
–1.5″ Wood Screws
–1″ Finishing Nails
-Wood Glue
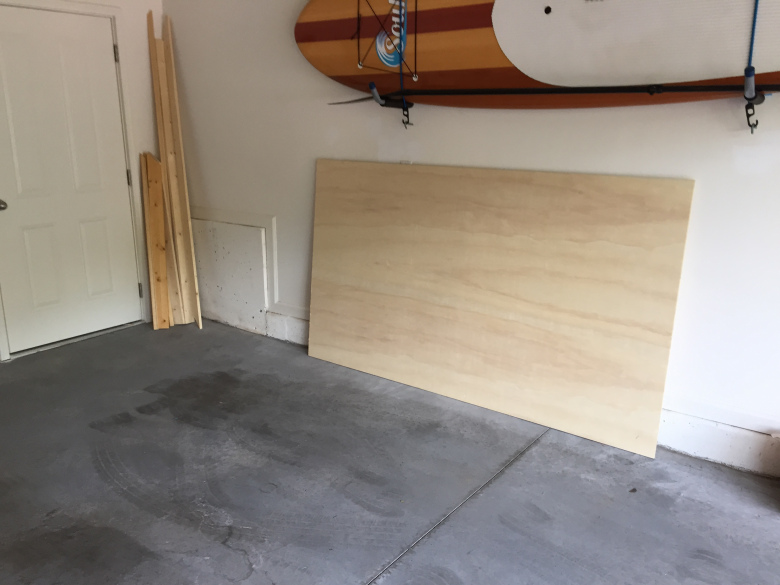
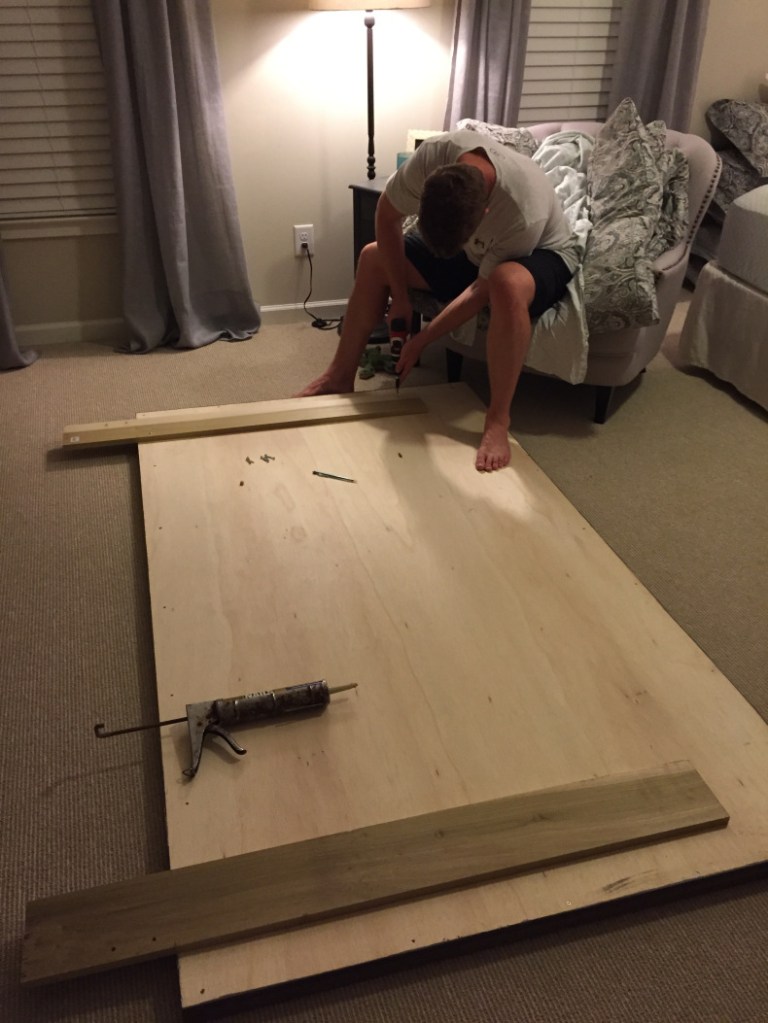
Once you gather your supplies, you’ll need to cut your panel pieces and 1x4s to fit your plywood, luckily our lake house is having some renovations done to it, so our builder let me use his tools to cut my pieces!

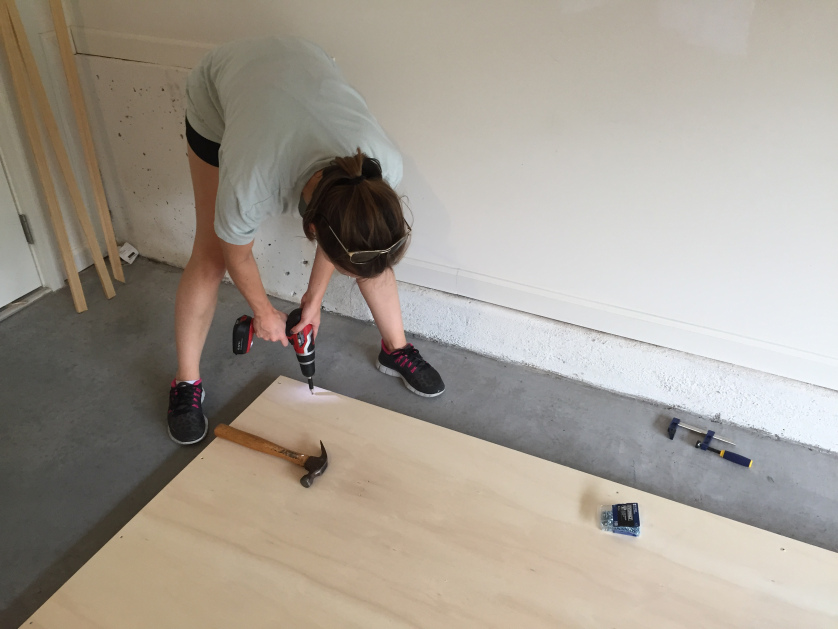
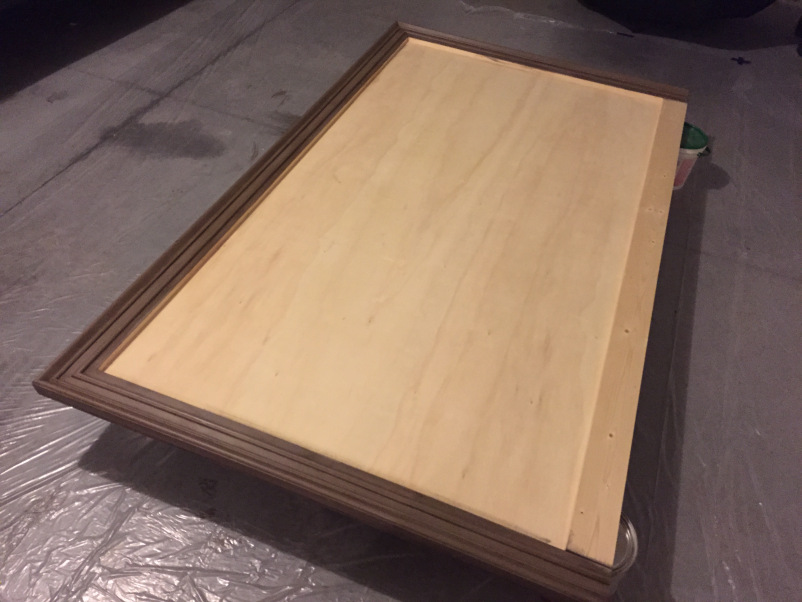
After you get all your pieces cut, you’ll attach the 1x4s to the plywood sheet, I got crafty and figured out that I need to attach those pieces from the back so that you couldn’t see the screws.. logical. You can use the wood glue to get everything into place and let it set for a bit before you screw it all together, that way you can just lay the plywood sheet face down and everything should stay in place
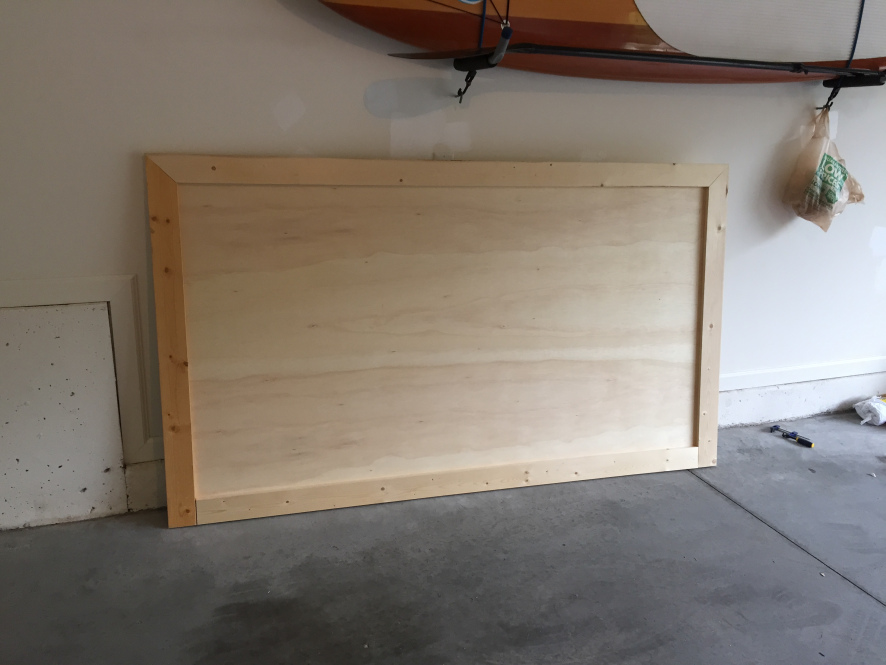
Once you have your 1x4s attached like the image below, you’ll use the wood glue to place your panel molding and smaller trim molding.
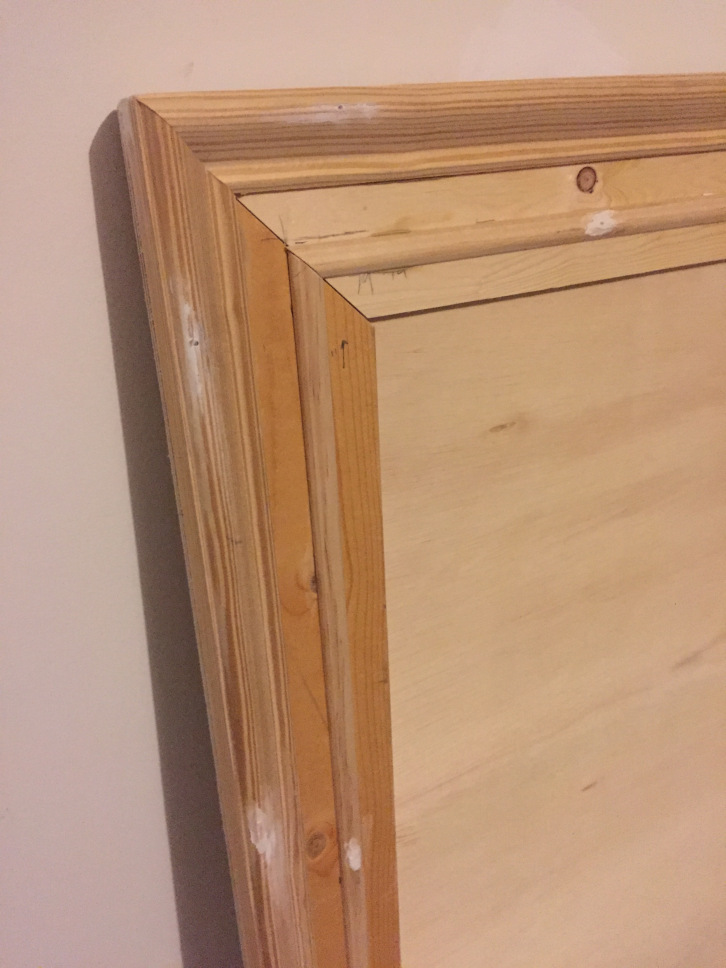
I had a little over half an inch from the trim molding to the inside edge of the 1x4s, you’ll use this as a guide when attaching the fabric and nailheads later.
Once you’ve filled your finish nails with a small amount of spackle to make it smooth, you’ll paint the outer trim.
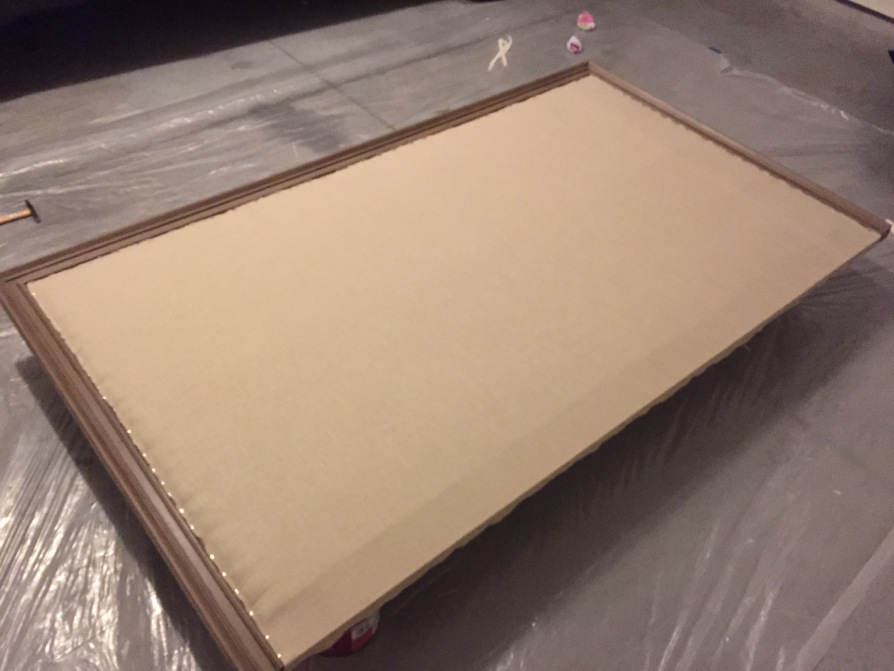
Next you’ll add a foam batting to the inner part of the headboard, I used a full size memory-foam mattress topper from wal-mart, you can use whatever you’d like, I opted for this since it was significantly cheaper than buying actual foam batting from a craft store! Get yourself some spray adhesive and stick that sucker down so it will stay in place.
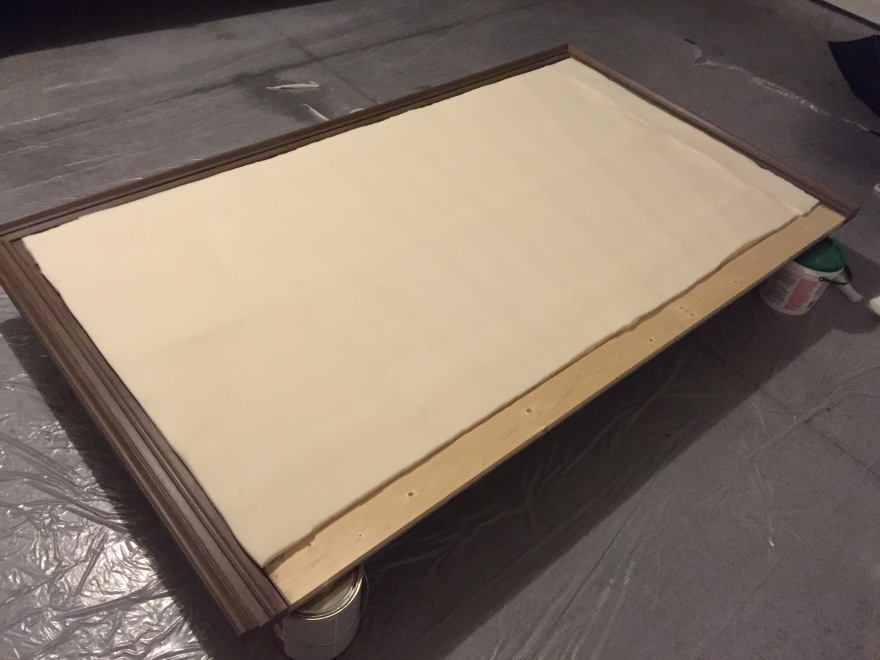
You can see that for whatever reason on the right side, it wasn’t long enough, so I used the excess that was at the bottom to fill in the missing space.
Next comes the upholstery! I found the linen I wanted to use on sale at Hobby Lobby, take whatever fabric you like and you’ll stretch it across and staple it along the edge of the smaller trim molding. (refer to the tutorial mentioned earlier, she gives better detailed pics of the best way to do this!)
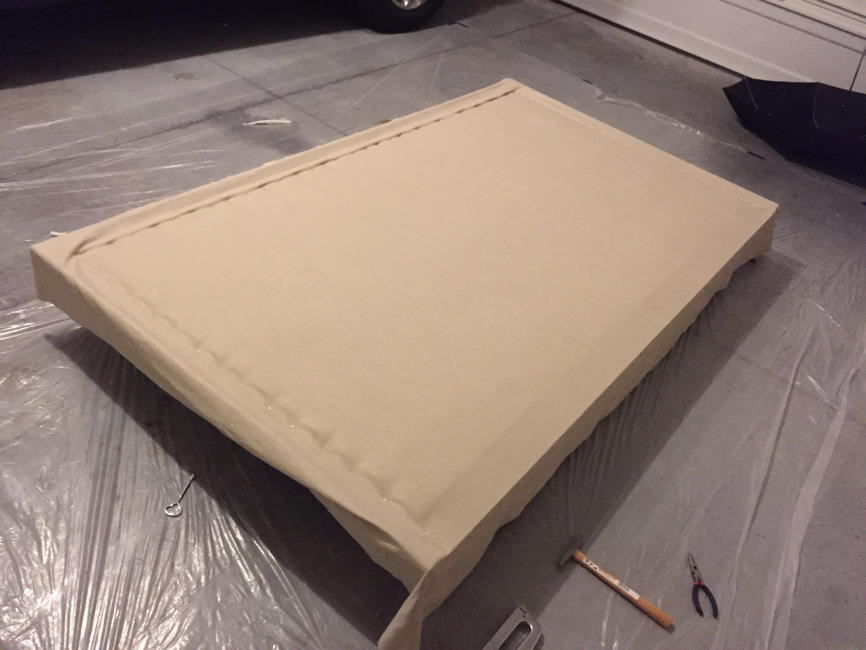
Once you’ve got it stapled down, you need to cut the excess, try and keep it as close to the trim and staples as possible, so you don’t have any peeking through later.
Now grab your handy dandy glue gun and get you some pretty twill tape, or coordinating ribbon of your choice, and you’ll glue the ribbon along the edge to cover up the staples (we see what you did there, Restoration hardware…)

Looking good! Now comes the ‘tricky’ part.. that is if you’re not a fan of math..like myself
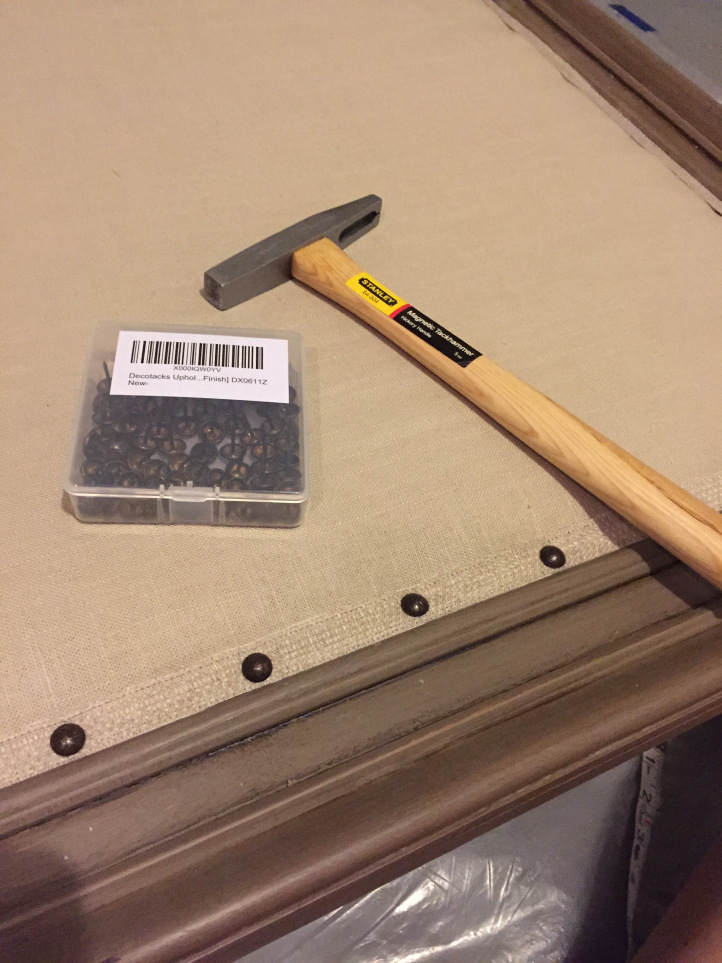
I ordered my nail heads from Amazon, I ended up ordering WAY too many, but such is life. You’ll need less than 100, if you measure it out like I did… or if you add more you’ll probably need two sets!
Now.. to measure out the tacks evenly, I had to get crafty. I put a tack in each top corner, and when the measurement was something crazy like 77 and 3/16… I decided to half that would be safest. So I place a tack at the very center, and then measured between that tack and one corner tack, and place a tack at the center of those… and kept on going like that until I got to roughly 2.5″ apart and then continued to place the rest of the tacks with a marker on my measuring tape.

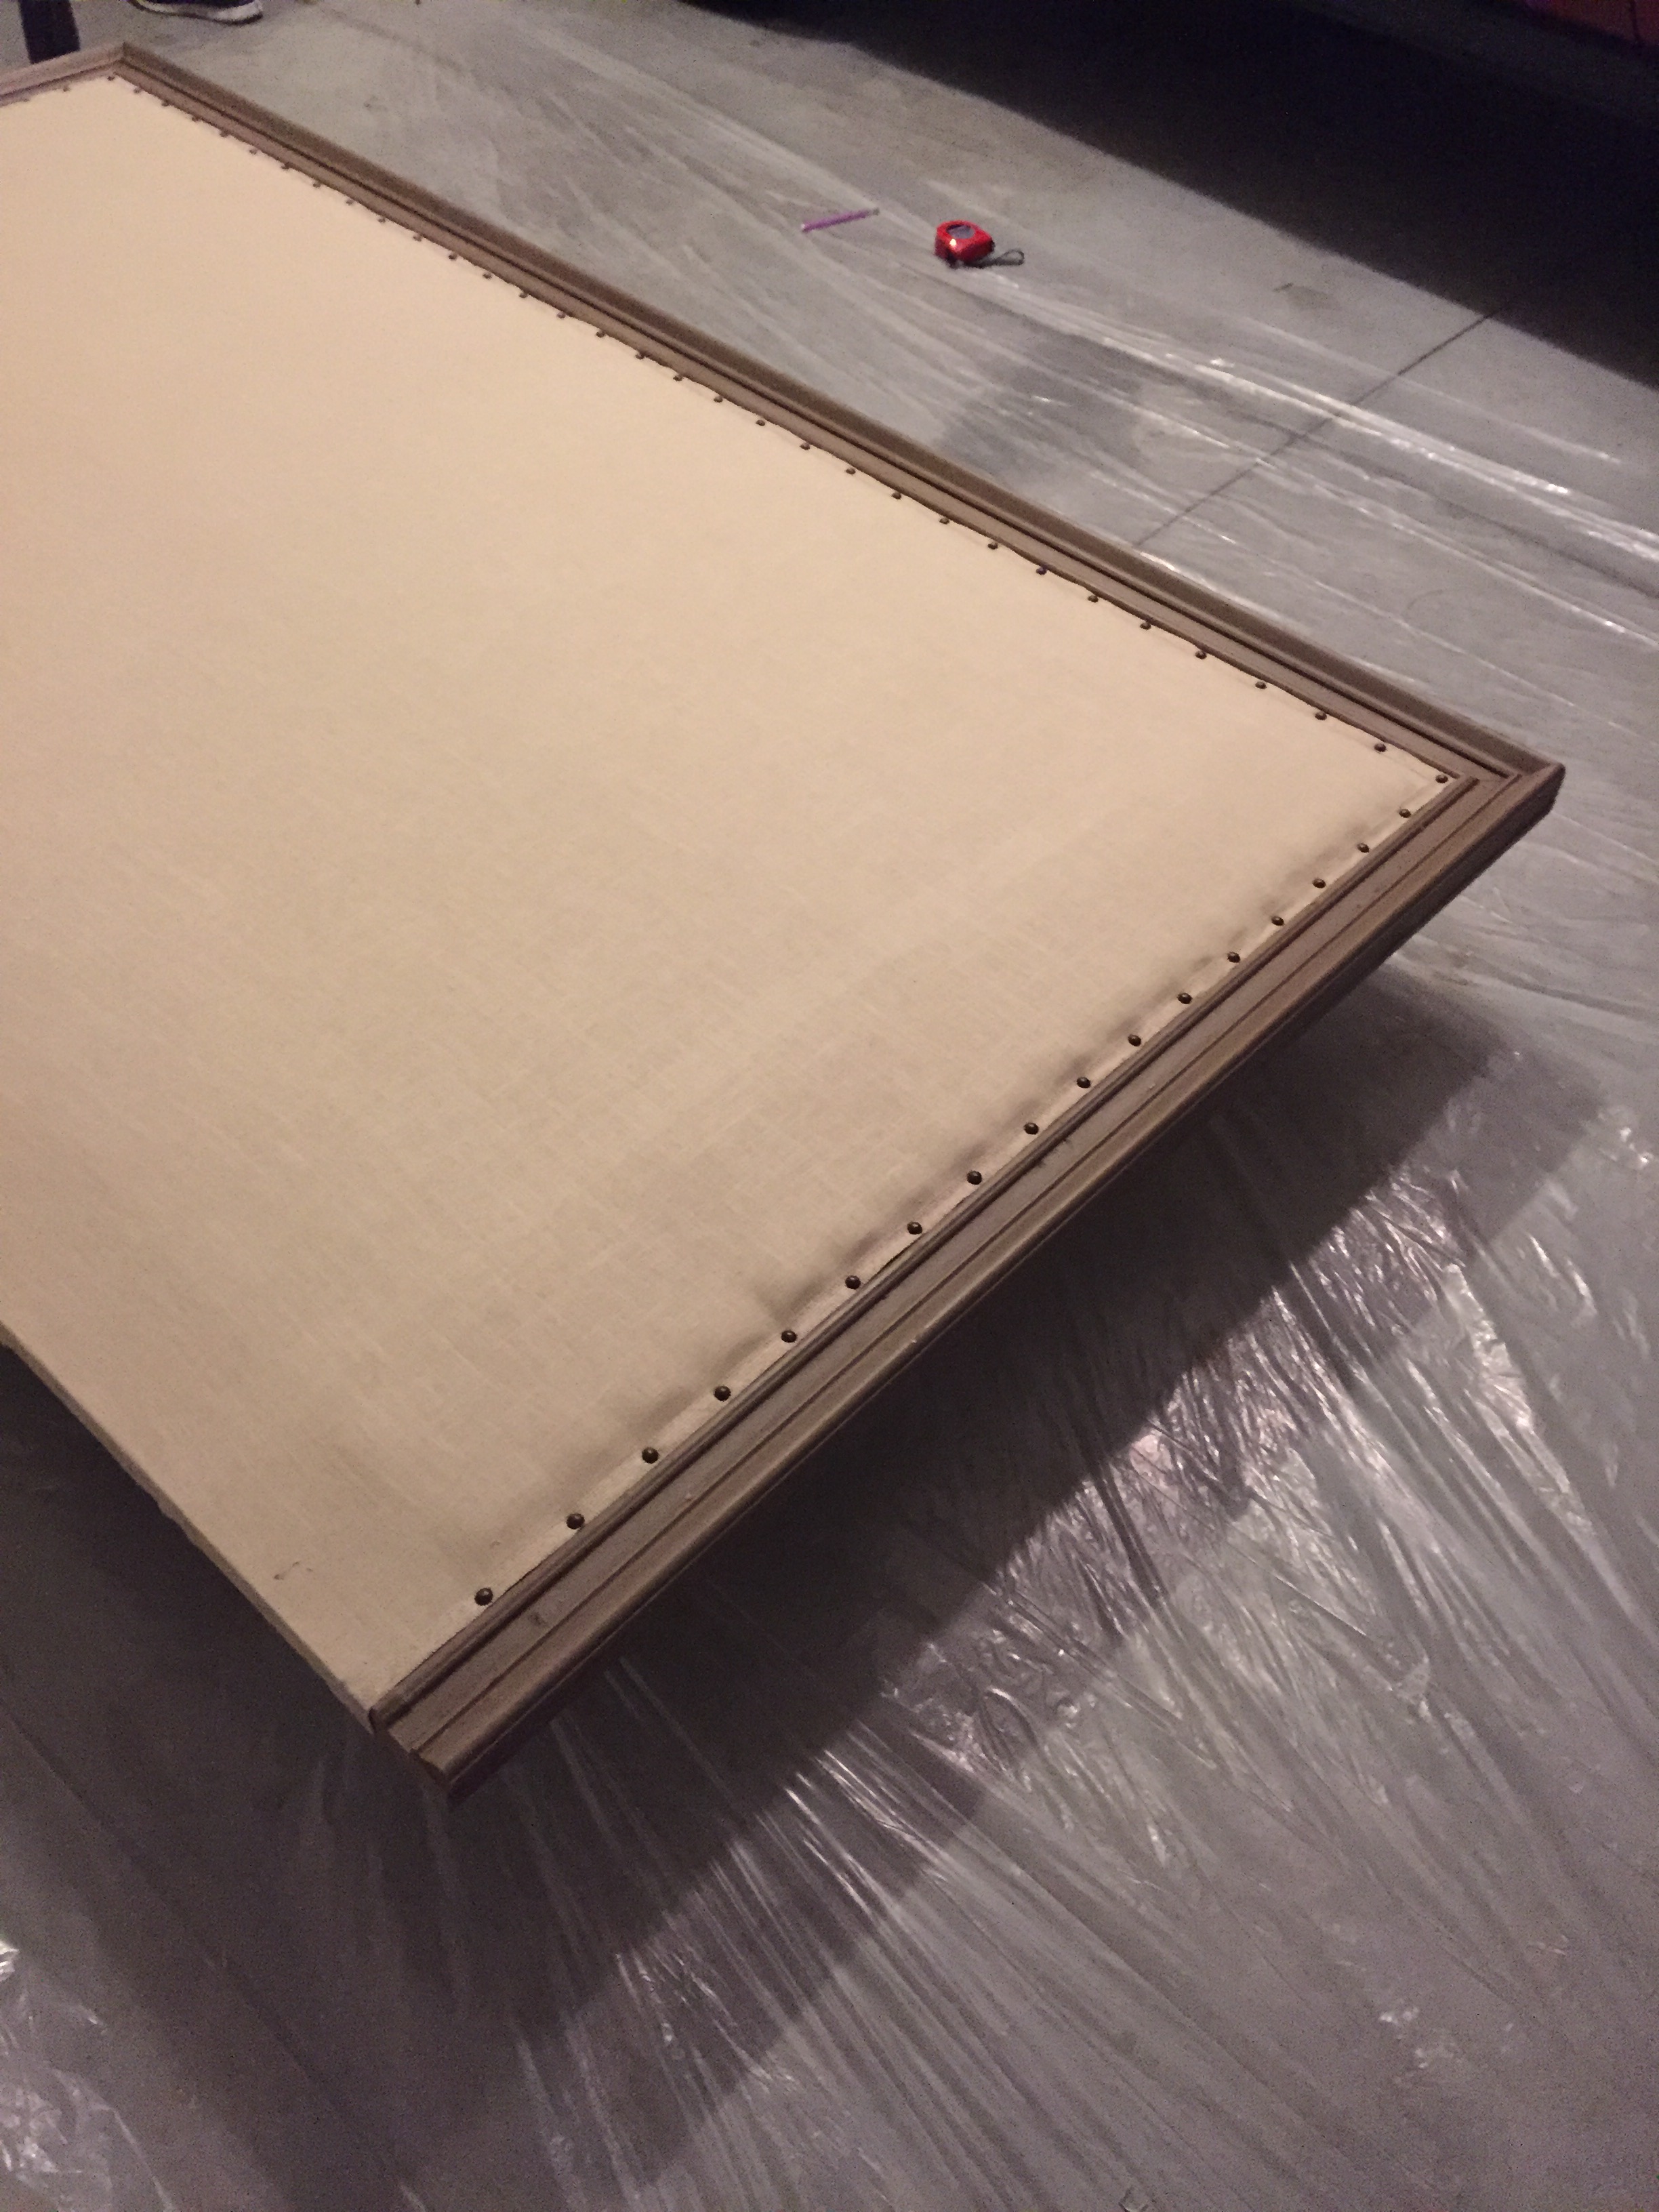
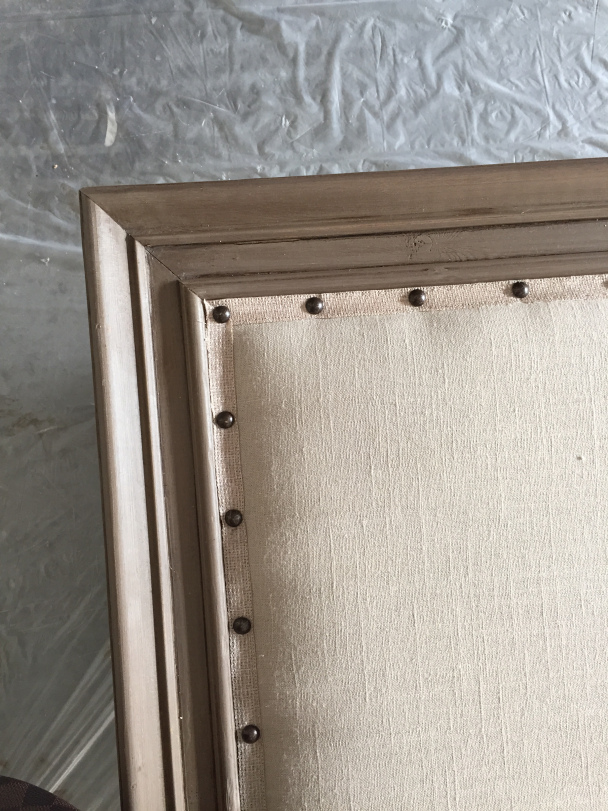
Using a tack hammer made this much much easier, and it didn’t damage the tacks like a regular hammer would have
And here’s the finished product before we added the ‘feet’ to mount it!
Now here’s where I had to bring Hubs in to help make sure I got this right… We added two pieces of 6″ hardwood cut at 4 feet to make the ‘feet’ that act as a brace to the back. We measured out the brackets on our bed frame and marked our hardwood where to drill holes before we mounted them to the headboard. After drilling the holes and figuring out the correct place to mount them on the headboard, we glued them in place and the used 2″ wood screws to attach them to the back of the board.
We used 3″ bolts and screws to attach the frame to our new feet, and voila!

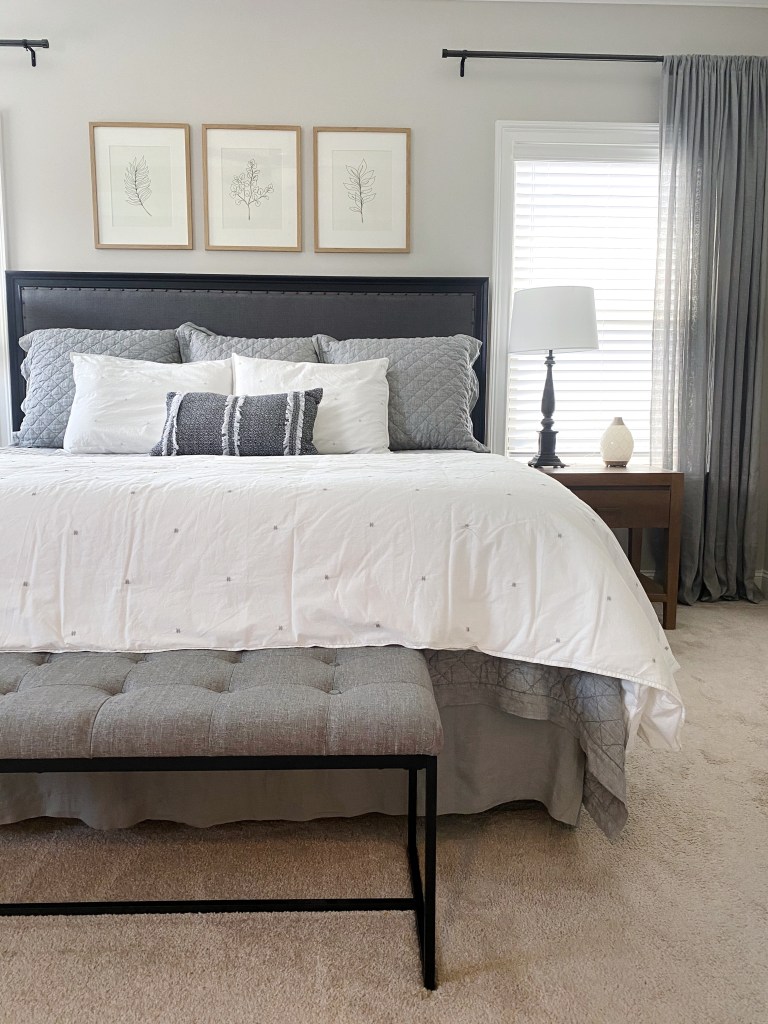
Now since moving to the new house, we got a new bedroom set of furniture and updated our decor/bedding to be more modern and clean, I fully redid this same headboard! I took this one down, painted the trim black, and got new fabric and taping. Thankfully I had all those extra tacks left over and saved from the first time around, so I was able to use those instead of wasting them!
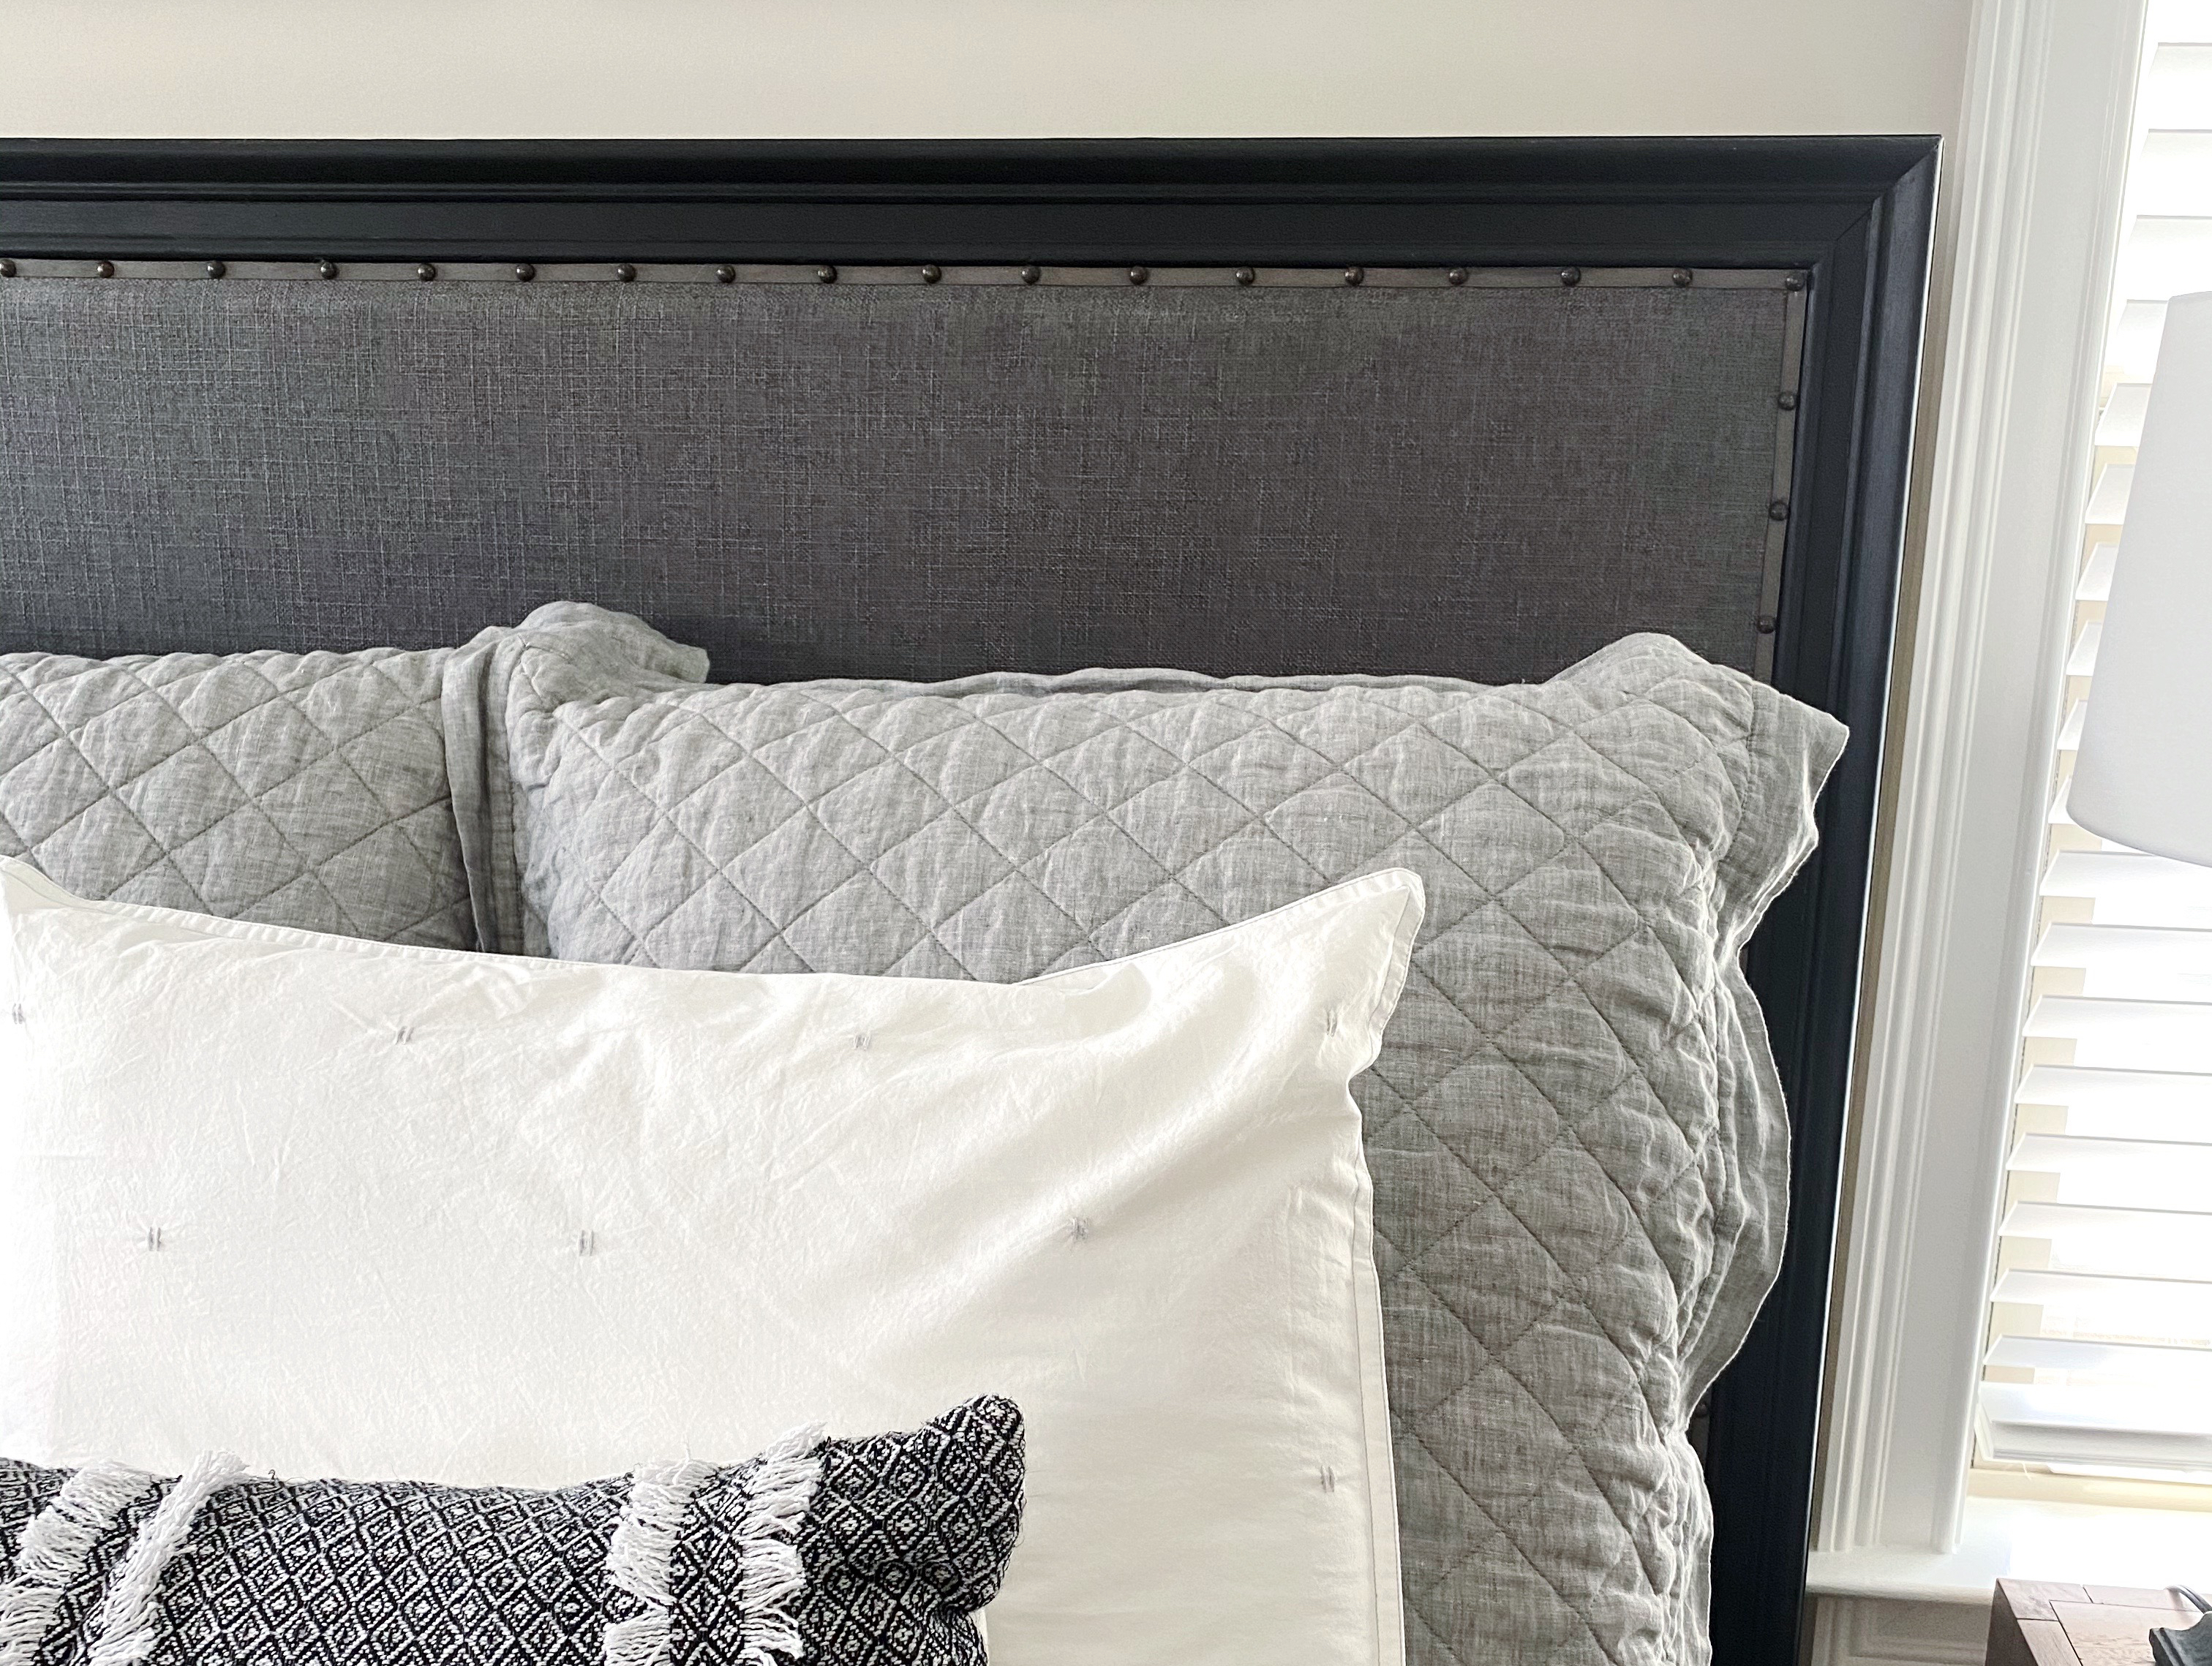
I hope you’ve found this tutorial helpful! It was a super fun project to tackle, and I love that it has taken on a new life in our new home! (making it the most versatile headboard ever.. if you ask me).